UITableView内にUICollectionViewでCarousel(カルーセル)を実装する
Table of Contents
画像の一覧表示や、画面内の情報密度を上げる際に使われるUICollectionViewですが、別の使い方として1列に画像やカードViewなどを並ばせるCarousel(カルーセル)という使い方があります。 今回はこれをUITableViewのCell(セル)に入れる方法について説明します。
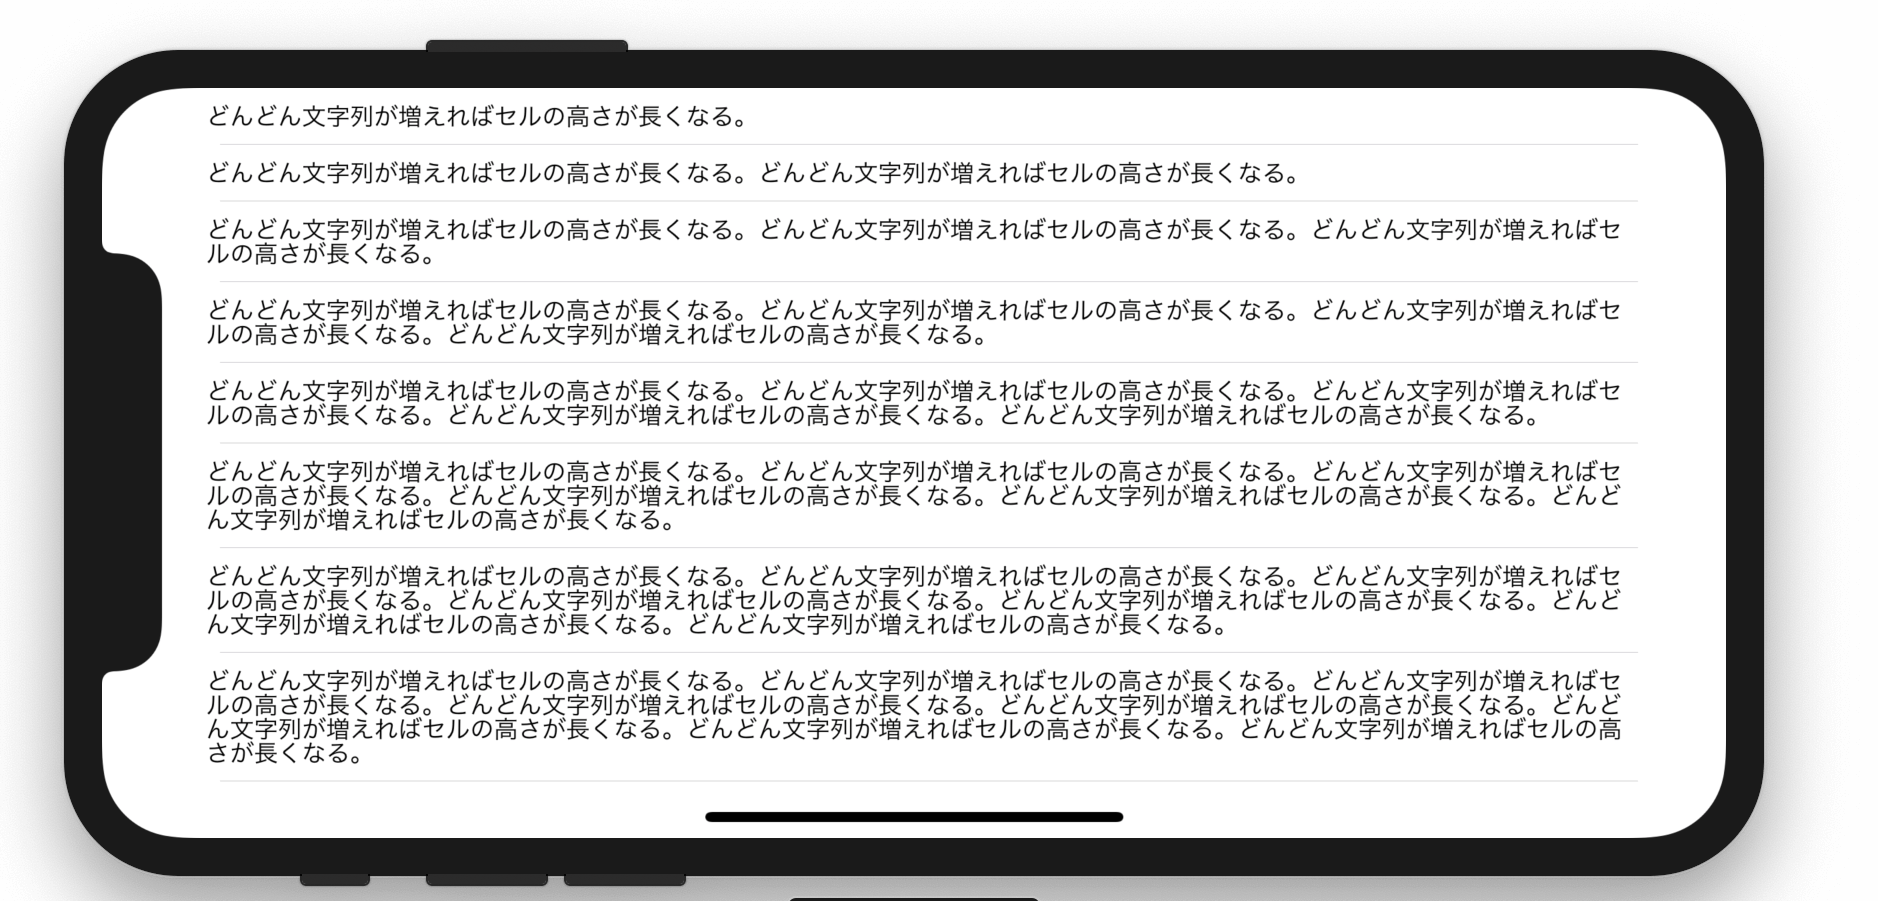
UITableViewのセル内に入れるということは、UICollectionViewの高さが算出できなければいけません。 できてなければセルの高さが分からず画像がはみ出したり切れたりします。
サンプルコードはカルーセルとPageControlの同期
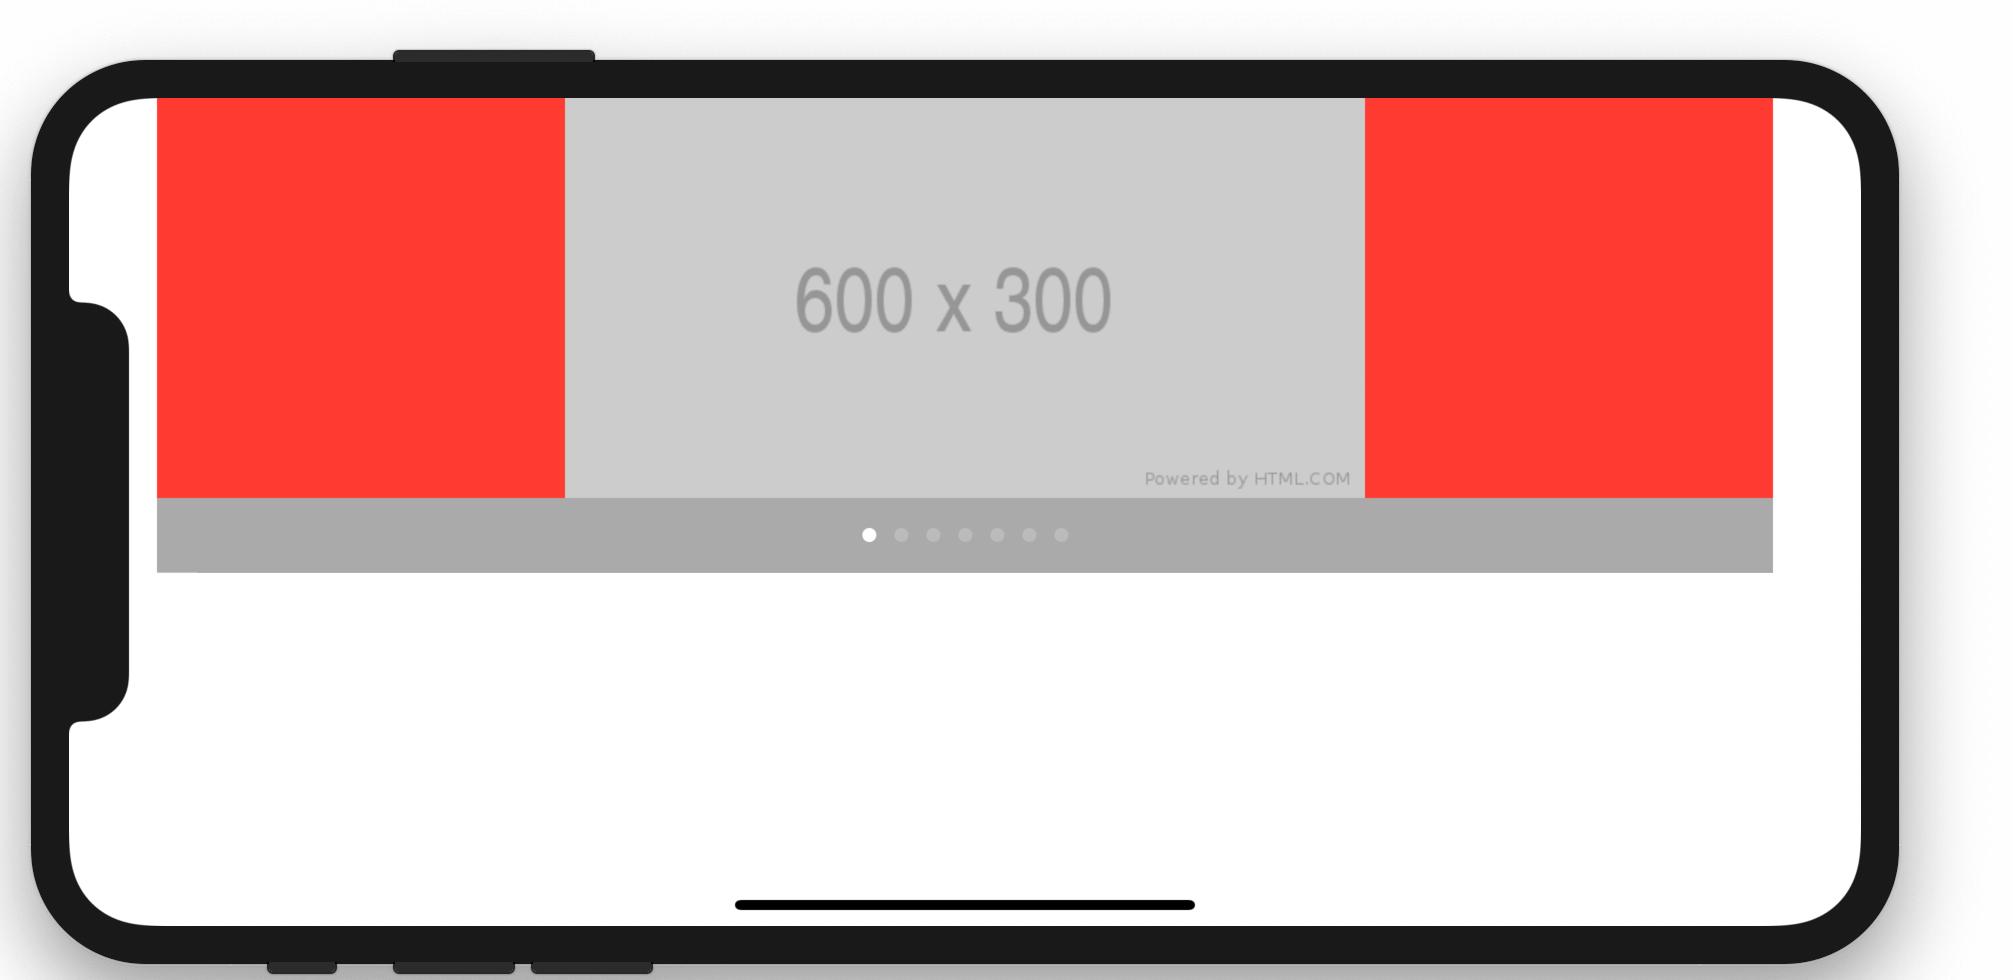
今回実装するサンプルは、テーブルのセル内にCarousel(カルーセル)とそれのカレントを表すUIPageControlを表示します。
なお、カルーセルの基本的な実装についてはこちらの記事をどうぞ
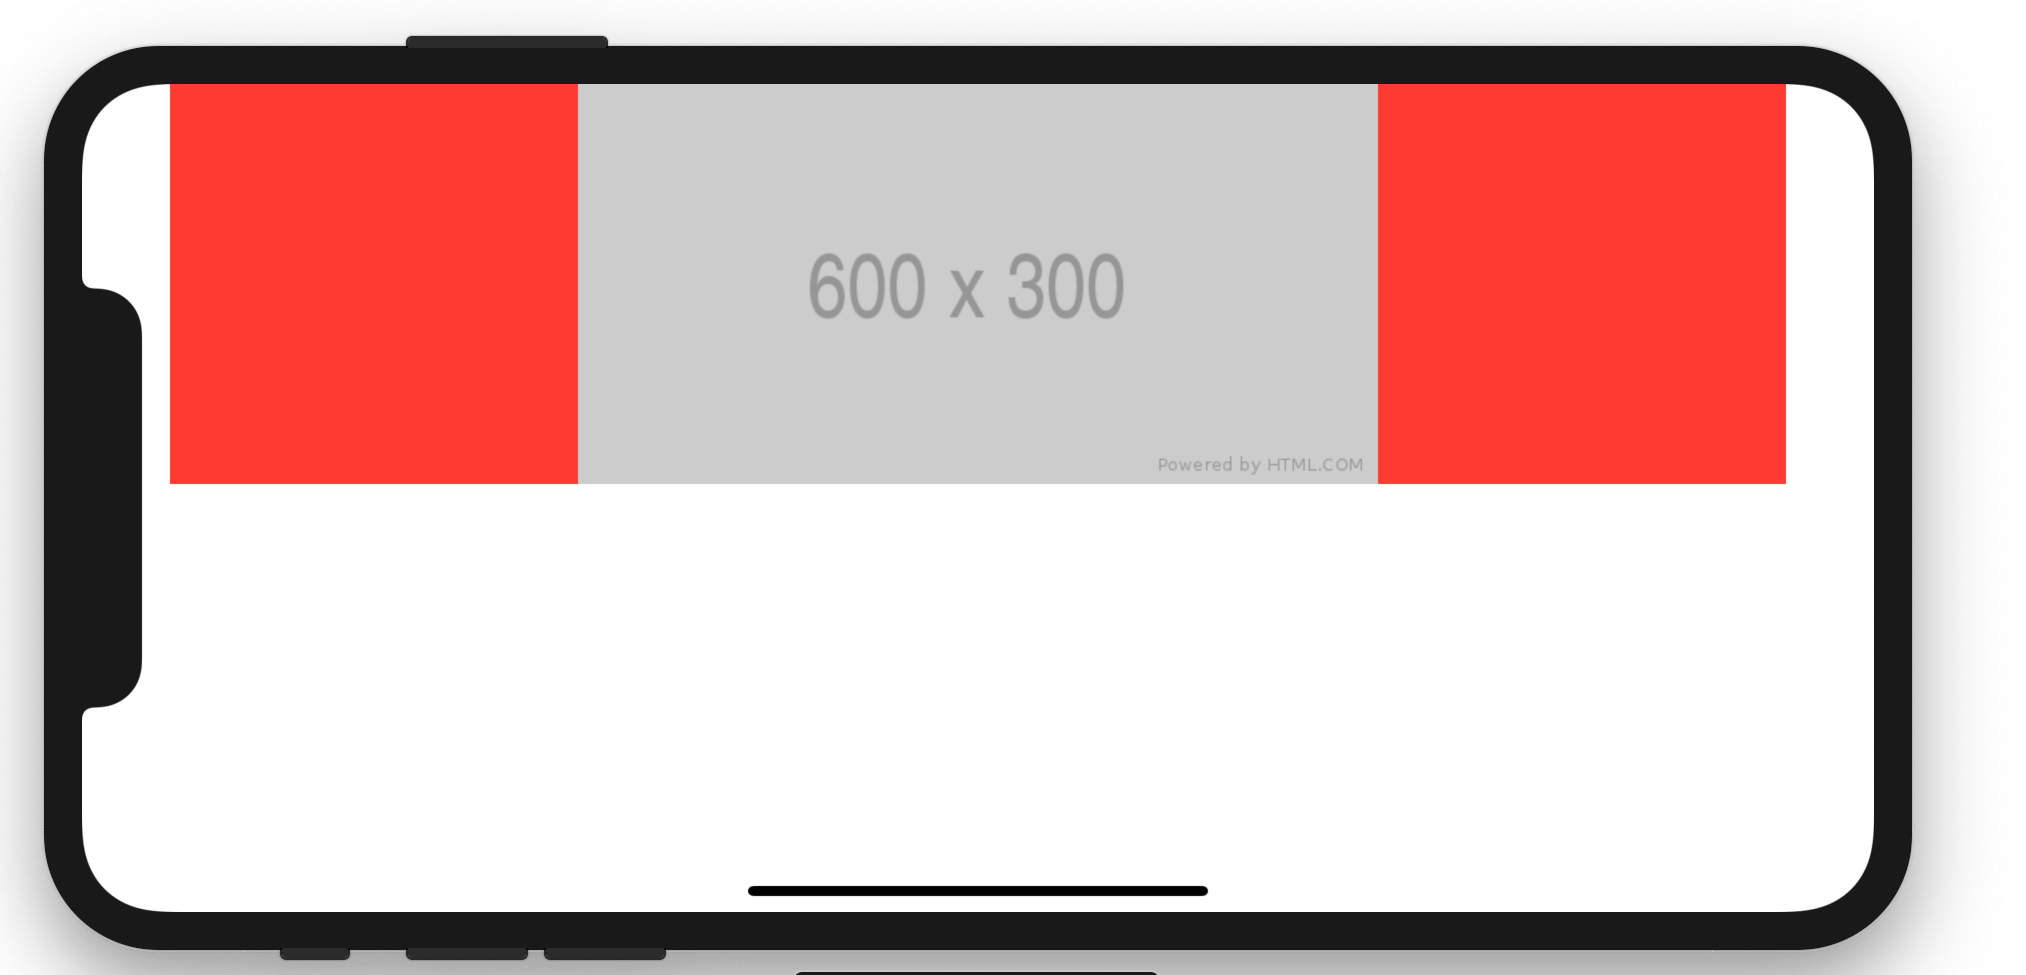
なお今回はサンプルに使った画像はPlaceholder.comで生成したものを使っています。
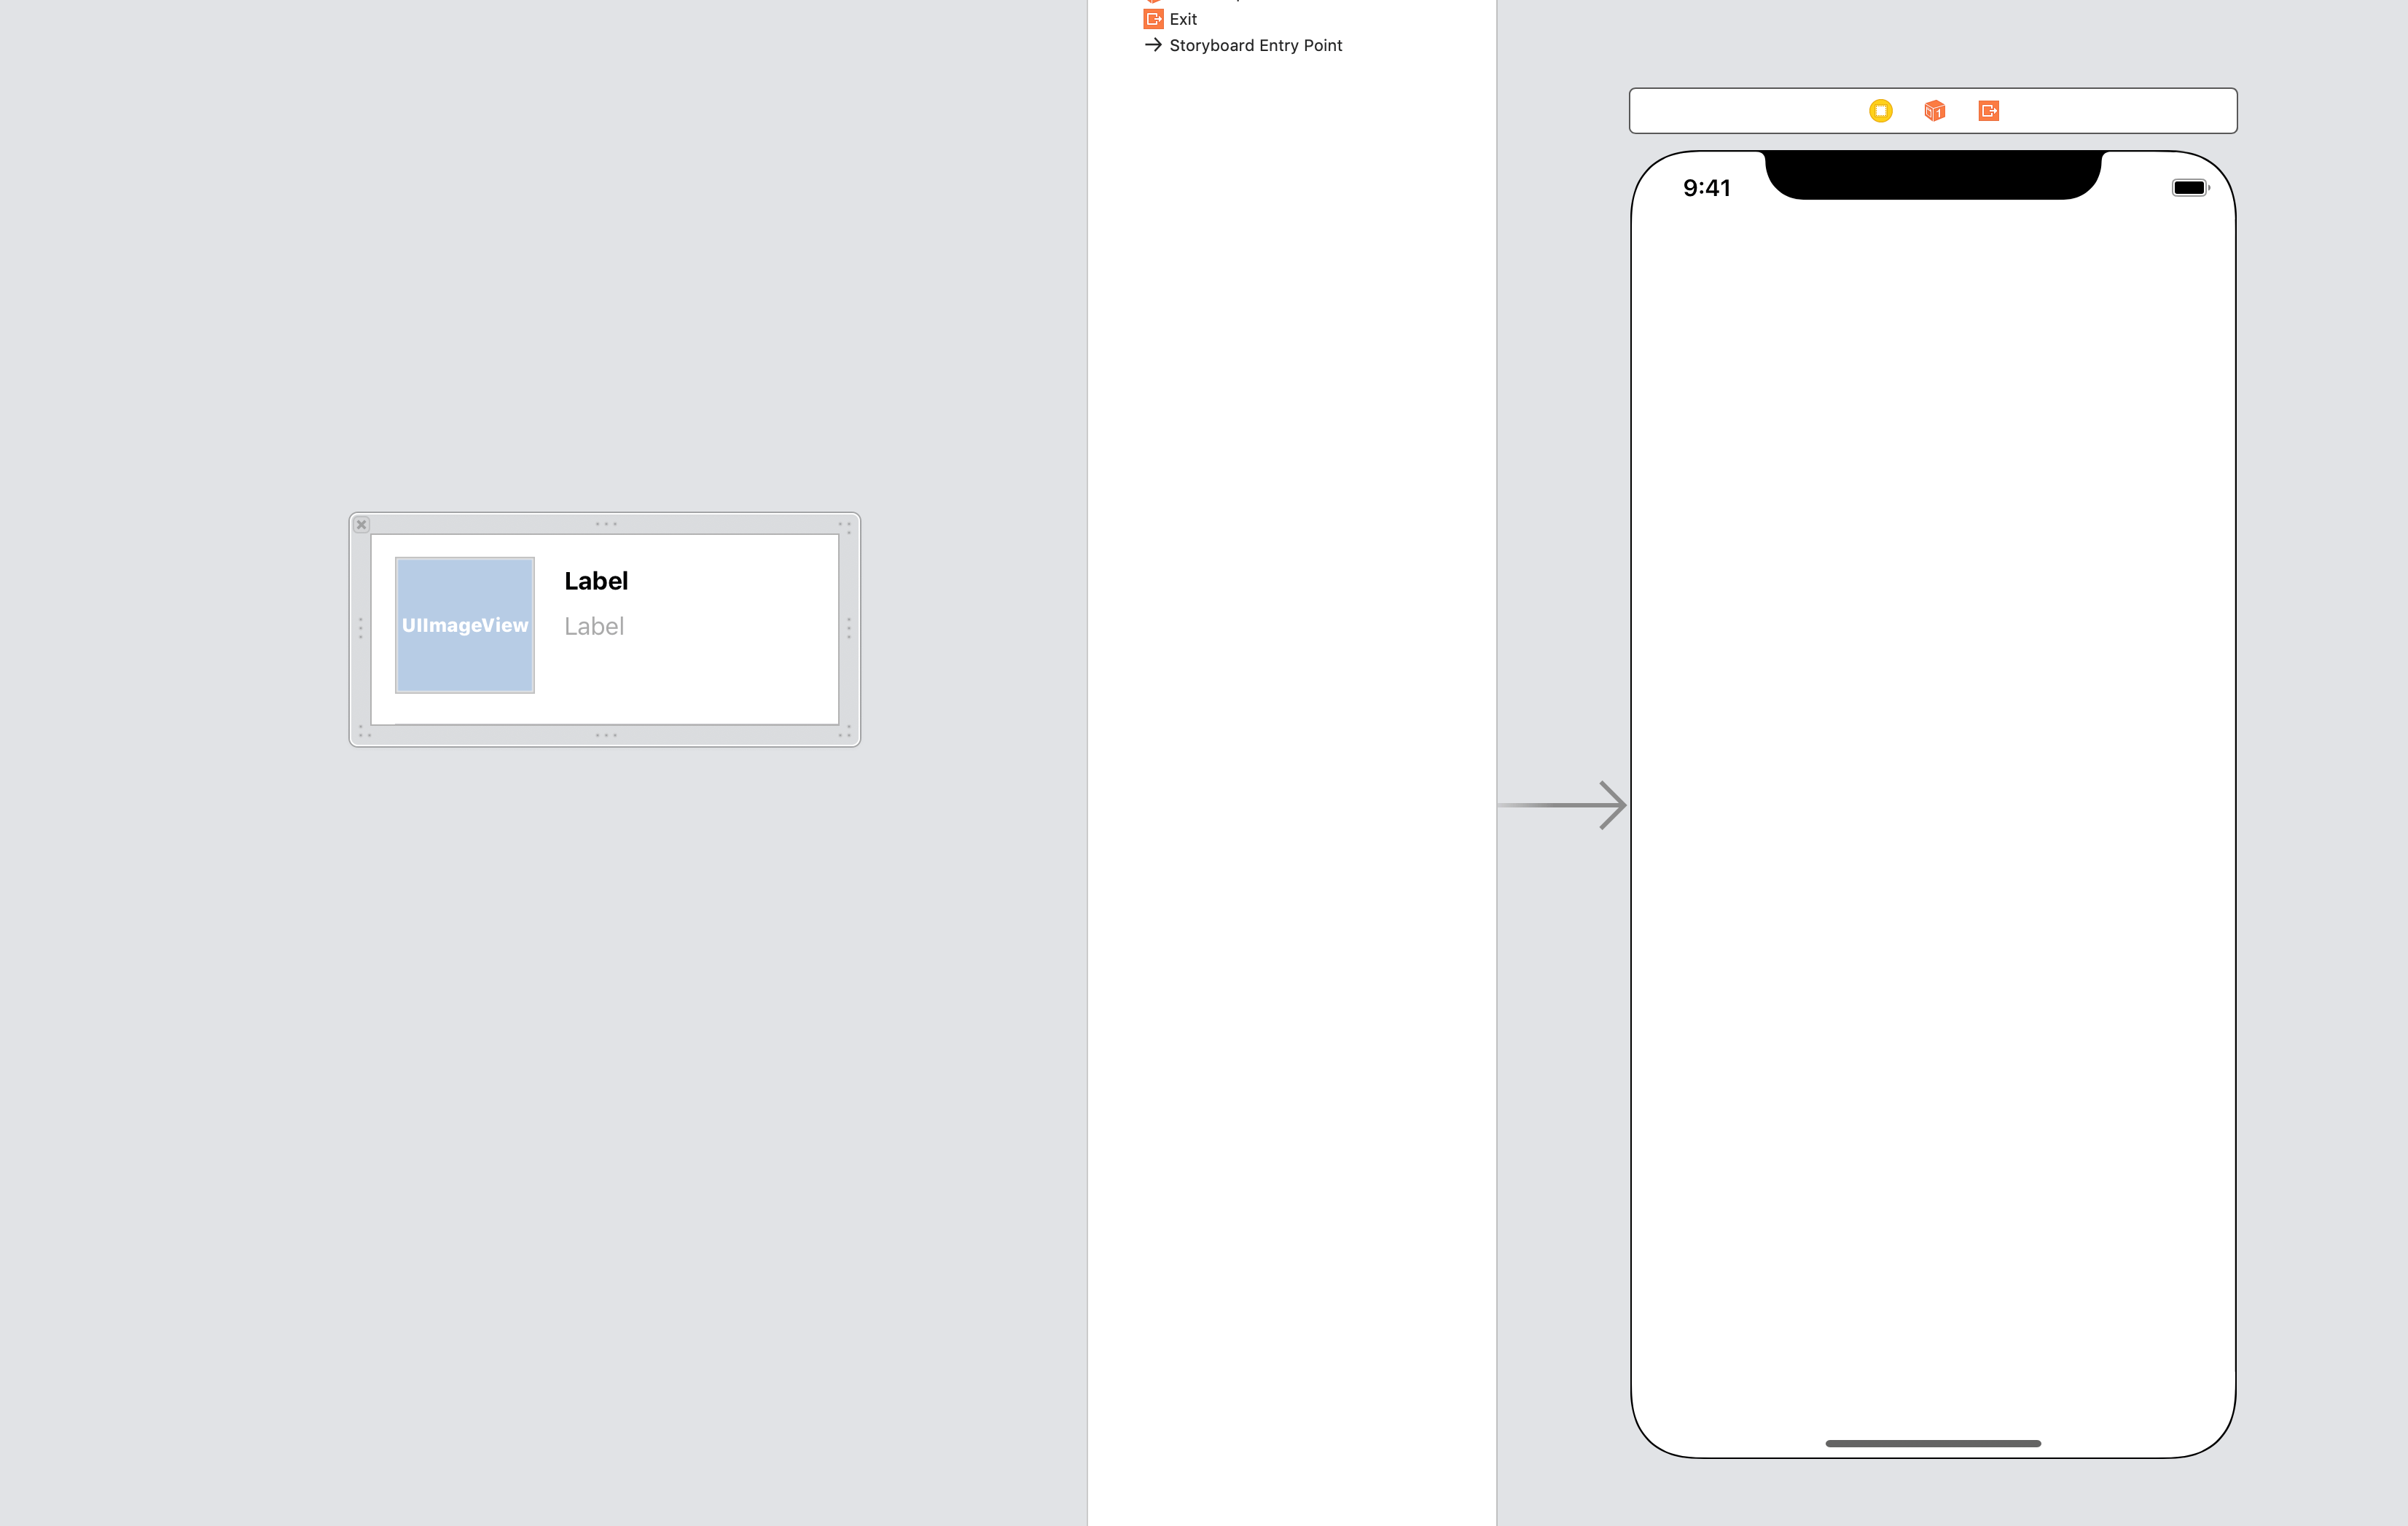
Storyboardは特別なことなし
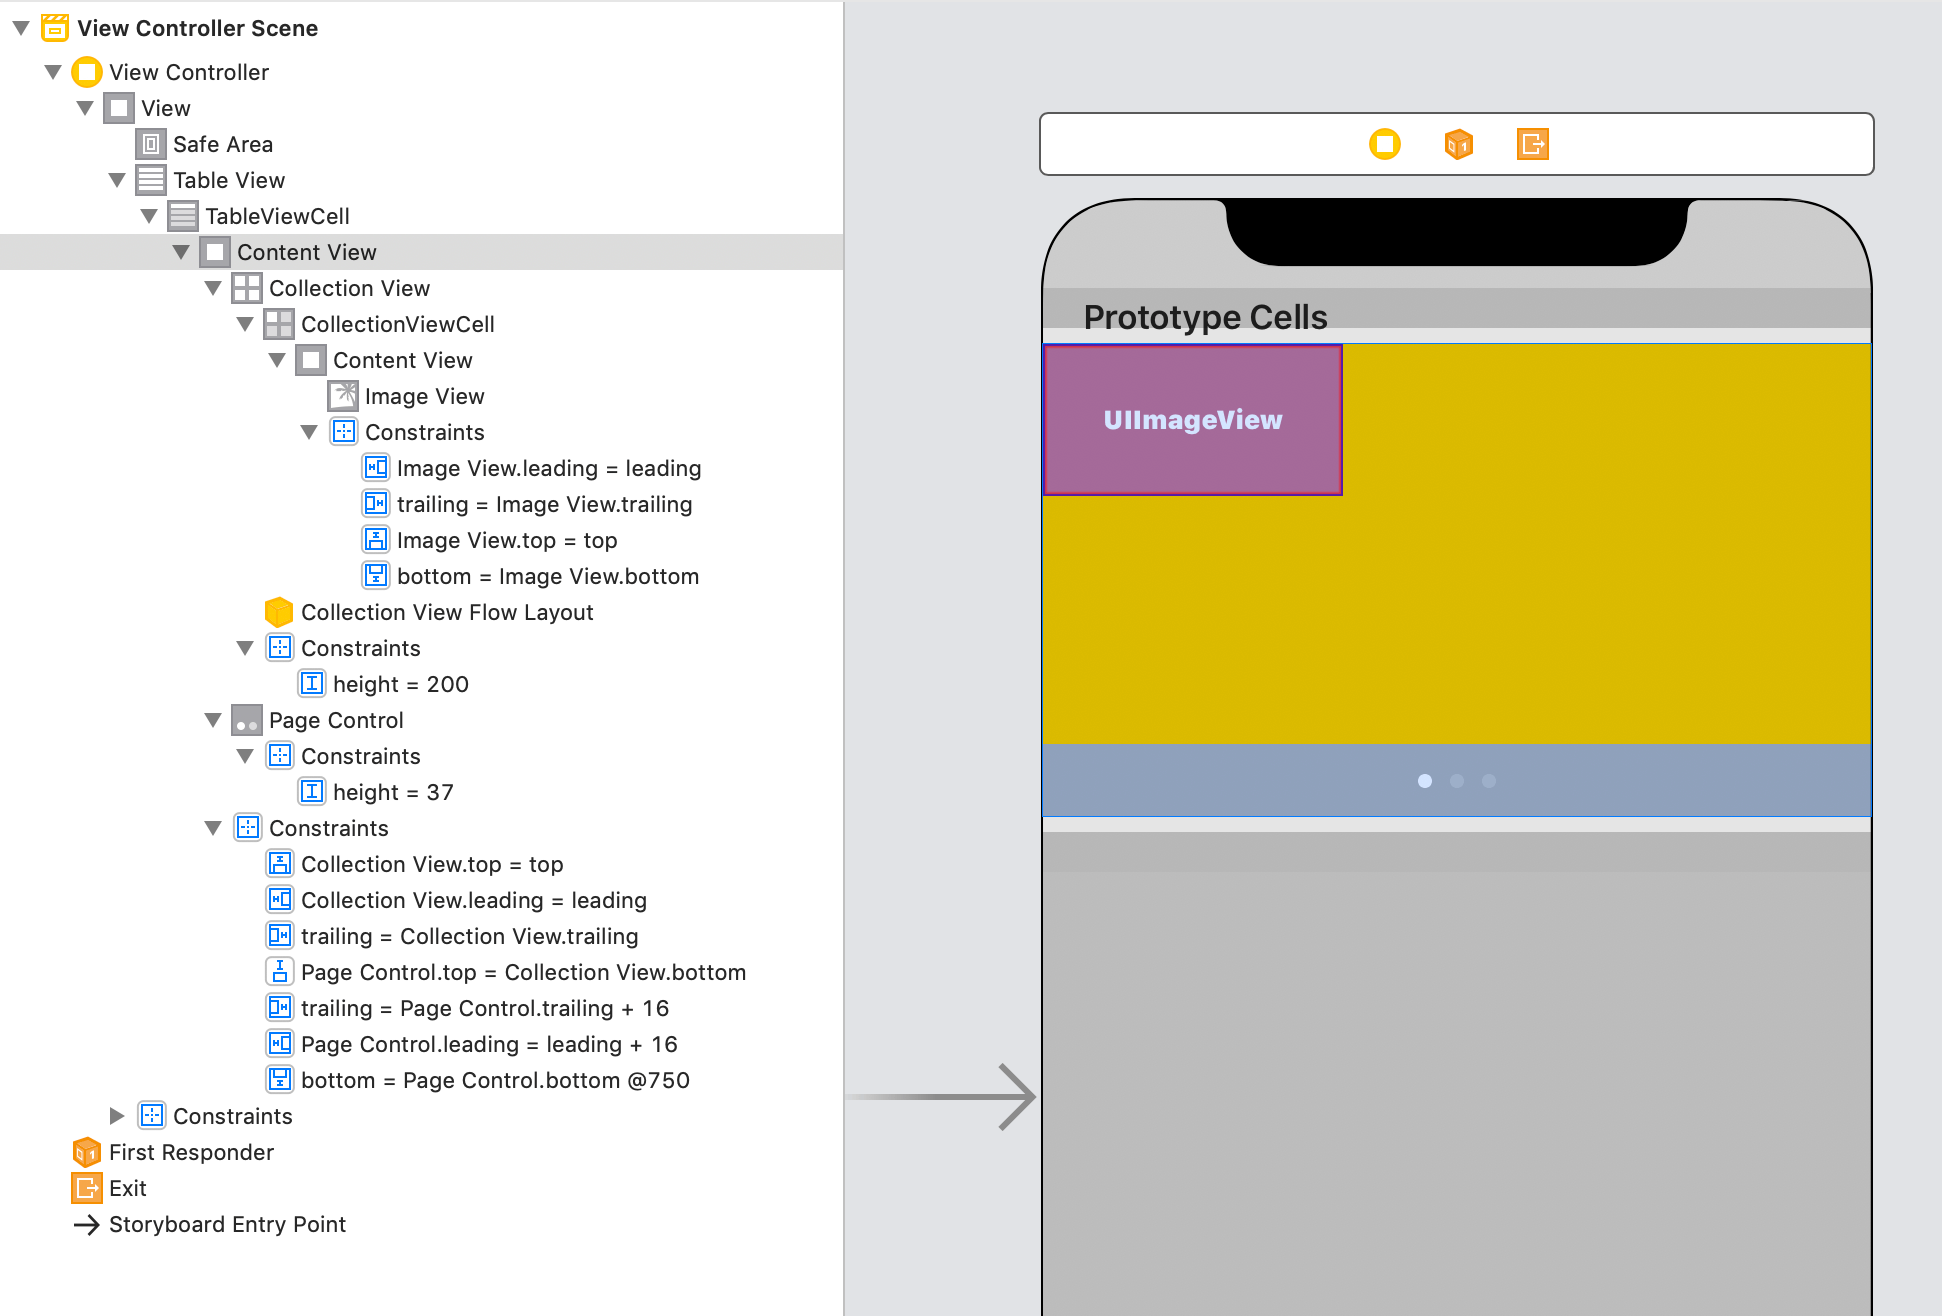
特に説明が必要な部分はありません。
セル内ビューの高さが算出可能であればセルは表示されます。
セルの高さ可変に関してはこちらの記事をどうぞ。
コードは3クラスの関係把握が重要
大きく3つのクラスで構成しています。
- ViewController: 親となるView Controller
- TableViewCell: ViewController が持つ UITableView のセル
- CollectionViewCell: TableViewCell が持つ UICollectionView のセル
これらは次のような階層構造にあります。
- ViewController
   |
   +-- tableView: UITableView
        |
        +-- cells: TableViewCell
             |
             +-- collectionView: UICollectionView
                  |
                  +-- cells: CollectionViewCell
先に全てのコードを掲載してから抜粋して説明します。
let images: [UIImage] = [
    UIImage(named: "image1")!,
    UIImage(named: "image2")!,
    UIImage(named: "image3")!,
    UIImage(named: "image4")!,
    UIImage(named: "image5")!,
    UIImage(named: "image6")!,
    UIImage(named: "image7")!
]

class ViewController: UIViewController, UITableViewDataSource {
    @IBOutlet private weak var tableView: UITableView!

    override func viewDidLoad() {
        super.viewDidLoad()
        tableView.dataSource = self
    }

    override func viewDidLayoutSubviews() {
        super.viewDidLayoutSubviews()
        tableView.reloadData()
    }

    func tableView(_ tableView: UITableView, numberOfRowsInSection section: Int) -> Int {
        return 1
    }

    func tableView(_ tableView: UITableView, cellForRowAt indexPath: IndexPath) -> UITableViewCell {
        let cell = tableView.dequeueReusableCell(withIdentifier: "TableViewCell", for: indexPath) as! TableViewCell
        cell.setup(images: images)
        return cell
    }
}

class TableViewCell: UITableViewCell {
    @IBOutlet private weak var collectionView: UICollectionView!
    @IBOutlet private weak var pageControl: UIPageControl!
    private var images: [UIImage] = [] {
        didSet {
            self.pageControl?.numberOfPages = images.count
        }
    }

    override func awakeFromNib() {
        super.awakeFromNib()
        collectionView.dataSource = self
        collectionView.delegate = self
        pageControl.addTarget(self, action: #selector(onTouchedPageControl(_:)), for: .valueChanged)
    }

    override func layoutSubviews() {
        super.layoutSubviews()
        setupCollectionViewLayout()
    }

    func setup(images: [UIImage]) {
        self.images = images
    }

    private func setupCollectionViewLayout() {
        let layout = UICollectionViewFlowLayout()
        layout.scrollDirection = .horizontal
        layout.minimumInteritemSpacing = 0.0
        layout.minimumLineSpacing = 0.0
        layout.itemSize = collectionView.bounds.size
        collectionView.collectionViewLayout = layout
    }

    @objc private func onTouchedPageControl(_ sender: UIPageControl) {
        let indexPath = IndexPath(item: sender.currentPage, section: 0)
        collectionView.scrollToItem(at: indexPath, at: .left, animated: true)
    }
}

extension TableViewCell: UICollectionViewDataSource, UICollectionViewDelegate {
    func collectionView(_ collectionView: UICollectionView, numberOfItemsInSection section: Int) -> Int {
        return self.images.count
    }

    func collectionView(_ collectionView: UICollectionView, cellForItemAt indexPath: IndexPath) -> UICollectionViewCell {
        let cell = collectionView.dequeueReusableCell(withReuseIdentifier: "CollectionViewCell", for: indexPath) as! CollectionViewCell
        cell.setup(image: self.images[indexPath.item])
        return cell
    }

    func scrollViewDidEndDecelerating(_ scrollView: UIScrollView) {
        let left = scrollView.contentOffset.x
        let width = scrollView.bounds.size.width
        let page = Int(left / width)
        pageControl.currentPage = page
    }
}

class CollectionViewCell: UICollectionViewCell {
    @IBOutlet private weak var imageView: UIImageView!
    func setup(image: UIImage) {
        self.imageView.image = image
    }
}
セルの高さは200固定
TableViewCell内のcollectionView(UICollectionView)の高さを200で固定しています。
UIPageControlも同様に高さをデフォルトに固定しています。
これでテーブルの高さ算出をクリアしています。
もしUICollectionViewに応じてテーブルを可変にしたい場合は高さのConstraintをIBOutletで結んで値を変えることで可変に出来ます。
カルーセル構築
class TableViewCell: UITableViewCell {
  // ...
  private func setupCollectionViewLayout() {
      let layout = UICollectionViewFlowLayout()
      layout.scrollDirection = .horizontal
      layout.minimumInteritemSpacing = 0.0
      layout.minimumLineSpacing = 0.0
      layout.itemSize = collectionView.bounds.size
      collectionView.collectionViewLayout = layout
  }
  // ...
}
セルのサイズを画面サイズに合わせることで画面に1セルしか表示しないようにしてます。
端末回転に対応する
class ViewController: UIViewController, UITableViewDataSource {
  // ...
  override func viewDidLayoutSubviews() {
      super.viewDidLayoutSubviews()
      tableView.reloadData()
  }
  // ...
}
class TableViewCell: UITableViewCell {
  // ...
  override func layoutSubviews() {
      super.layoutSubviews()
      setupCollectionViewLayout()
  }
  // ...
}
端末が回転したら、
- テーブルのリロード
- セルの再レイアウト
- セル内のコレクションの再レイアウト
をして回転後の画面サイズに調整します。
ページコントロールを実装する
class TableViewCell: UITableViewCell {
  // ...
  private var images: [UIImage] = [] {
      didSet {
          self.pageControl?.numberOfPages = images.count
      }
  }
  // ...
  override func awakeFromNib() {
      super.awakeFromNib()
      // ...
      collectionView.delegate = self
      pageControl.addTarget(self, action: #selector(onTouchedPageControl(_:)), for: .valueChanged)
  }
  // ...
  @objc private func onTouchedPageControl(_ sender: UIPageControl) {
      let indexPath = IndexPath(item: sender.currentPage, section: 0)
      collectionView.scrollToItem(at: indexPath, at: .left, animated: true)
  }
  // ...
}

extension TableViewCell: UICollectionViewDataSource, UICollectionViewDelegate {
  // ...
  func scrollViewDidEndDecelerating(_ scrollView: UIScrollView) {
    let left = scrollView.contentOffset.x
    let width = scrollView.bounds.size.width
    let page = Int(left / width)
    pageControl.currentPage = page
  }
}
ページコントロールには2つの役割があります。
- 現在のカルーセルページを表す
- 前後のページへ移動
この2つを実現するために
pageControl.numberOfPagesでページ数を設定- スクロール移動後イベント(
scrollViewDidEndDecelerating(_))でカレントカルーセルページを算出 - ページコントロールの前後移動イベントでカルーセルのカレントページを変更
を行っています。
小ネタ: レイアウト制御は組み合わせできる
レイアウト制御の反映順序は次の通りになります。
- xib/storyboard
- collectionView.collectionViewLayout
- collectionView.delegate
これらは組み合わせ可能で、制御が重複した場合は後発に上書きされます。
まとめ: テーブル構成のカルーセルは需要高い
最近ではUIStackViewによるレイアウトも盛んではありますが、テーブルによるレイアウト構成は一定の需要があります。
その中でもUIパターンの1つであるカルーセルは、
トップページなどにおいてコンテンツが豊富になってくると情報量のスマート化として
各コンテンツの部分的に出すリデザインが行われ、そのときに使われやすいUIデザインとしてカルーセルがあります。
プログラミングにおいてアーキテクチャやメンテナンス性、可読性、柔軟性などは共通して求められますが、
iOS開発ではそれに加えて端末が持つ機能の使い方やUIデザインの実装方法がスキルとして必要になってきます。
デザイナーから依頼されたデザインをいかに既存のパーツを組み合わせて構成するかが必要になります。