【初心者向け】UITableViewのセルの編集制御を極める
Table of Contents
UITableViewのセルには編集モードというものがあり、セルを並び替えたり削除したり、セルを左右にスワイプすることでアクションメニューを表示したいときに使います。
実際にどういったことが出来るのかコードと動画を使って分かりやすくまとめてみました。
編集モードとは
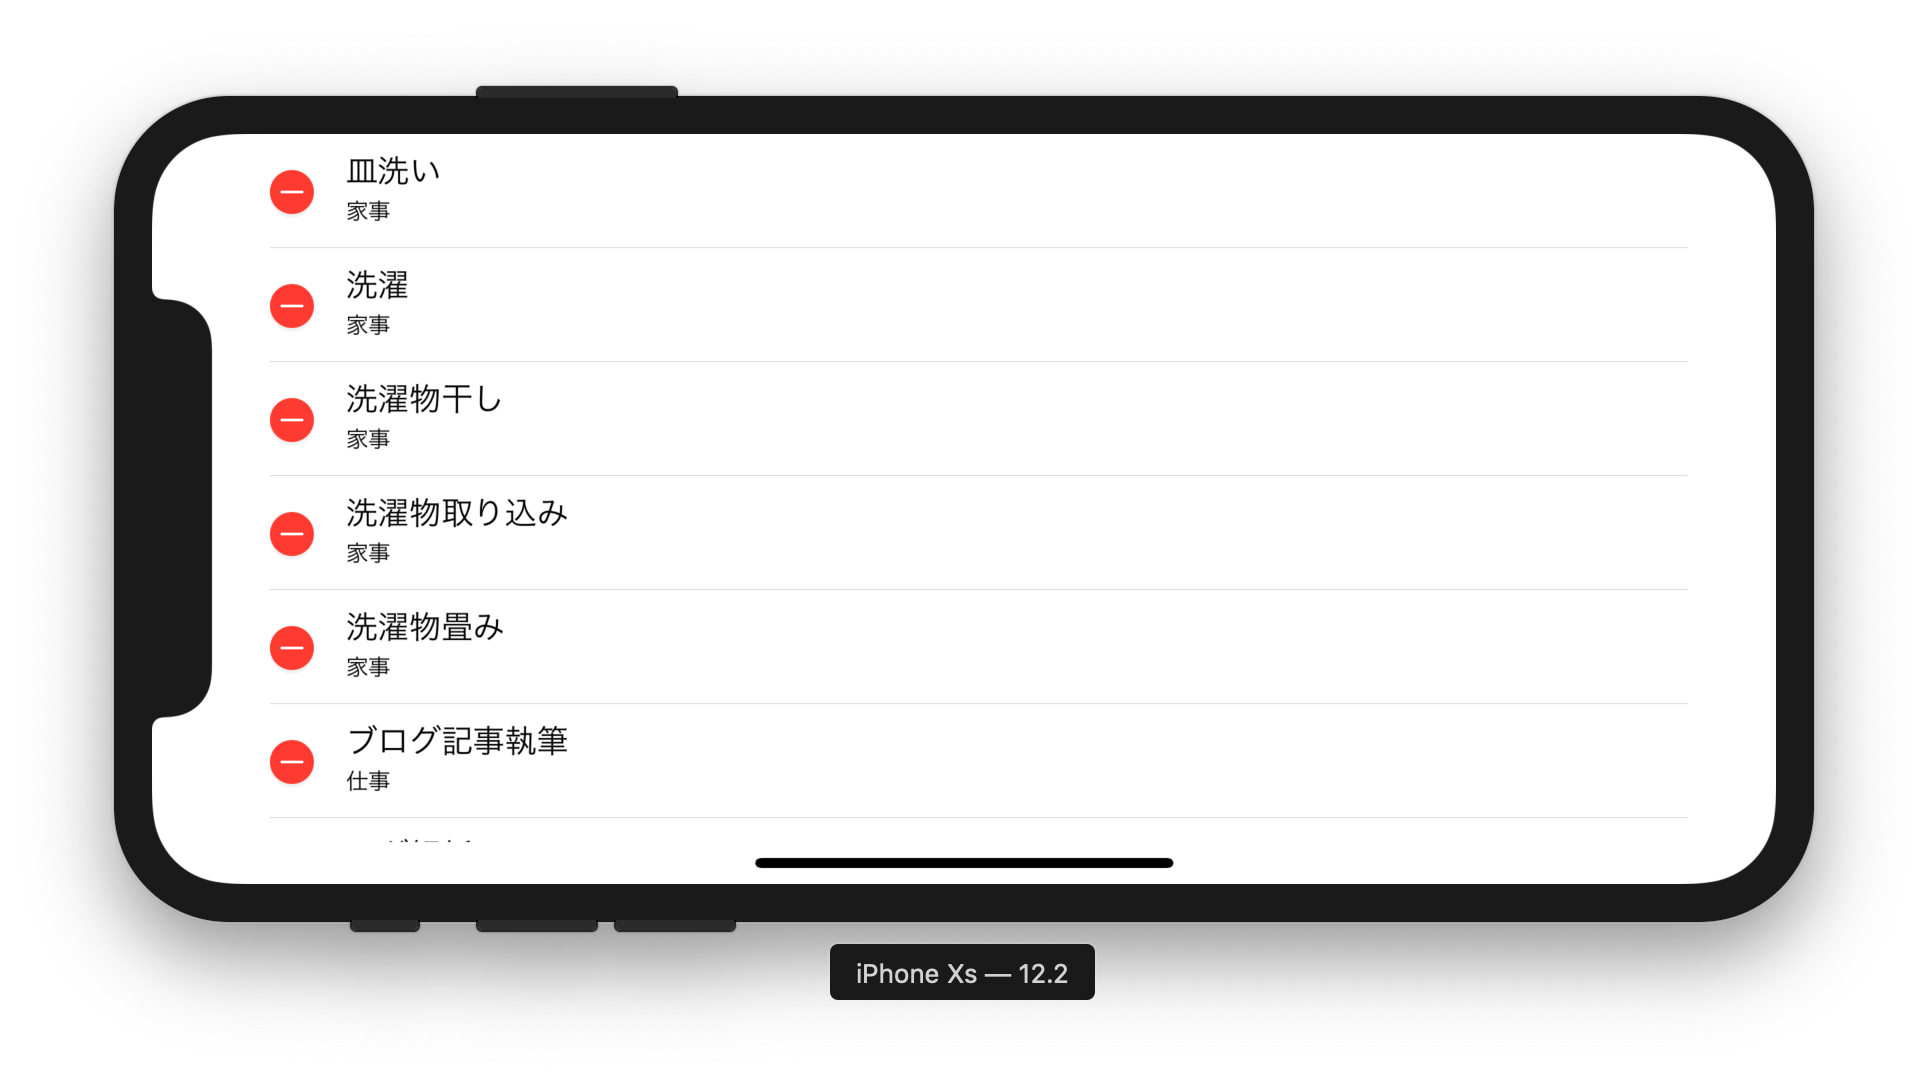
UITableView.isEditing を true にすると編集モードに切り替わります。
次のように削除と並び替えが出てきます。
つまり 編集モードには アクション と 並び替え の2機能を備えてます。
しかしこのままでは削除を押しても何もおきないし、並び替えできてもセルを隠すと元に戻ります。
- セルの削除は自分で行う必要がある
- 並び替え後はデータも並び替える必要がある
ではちゃんと削除と並び替えを実装してみます。
削除と並び替えを実装する
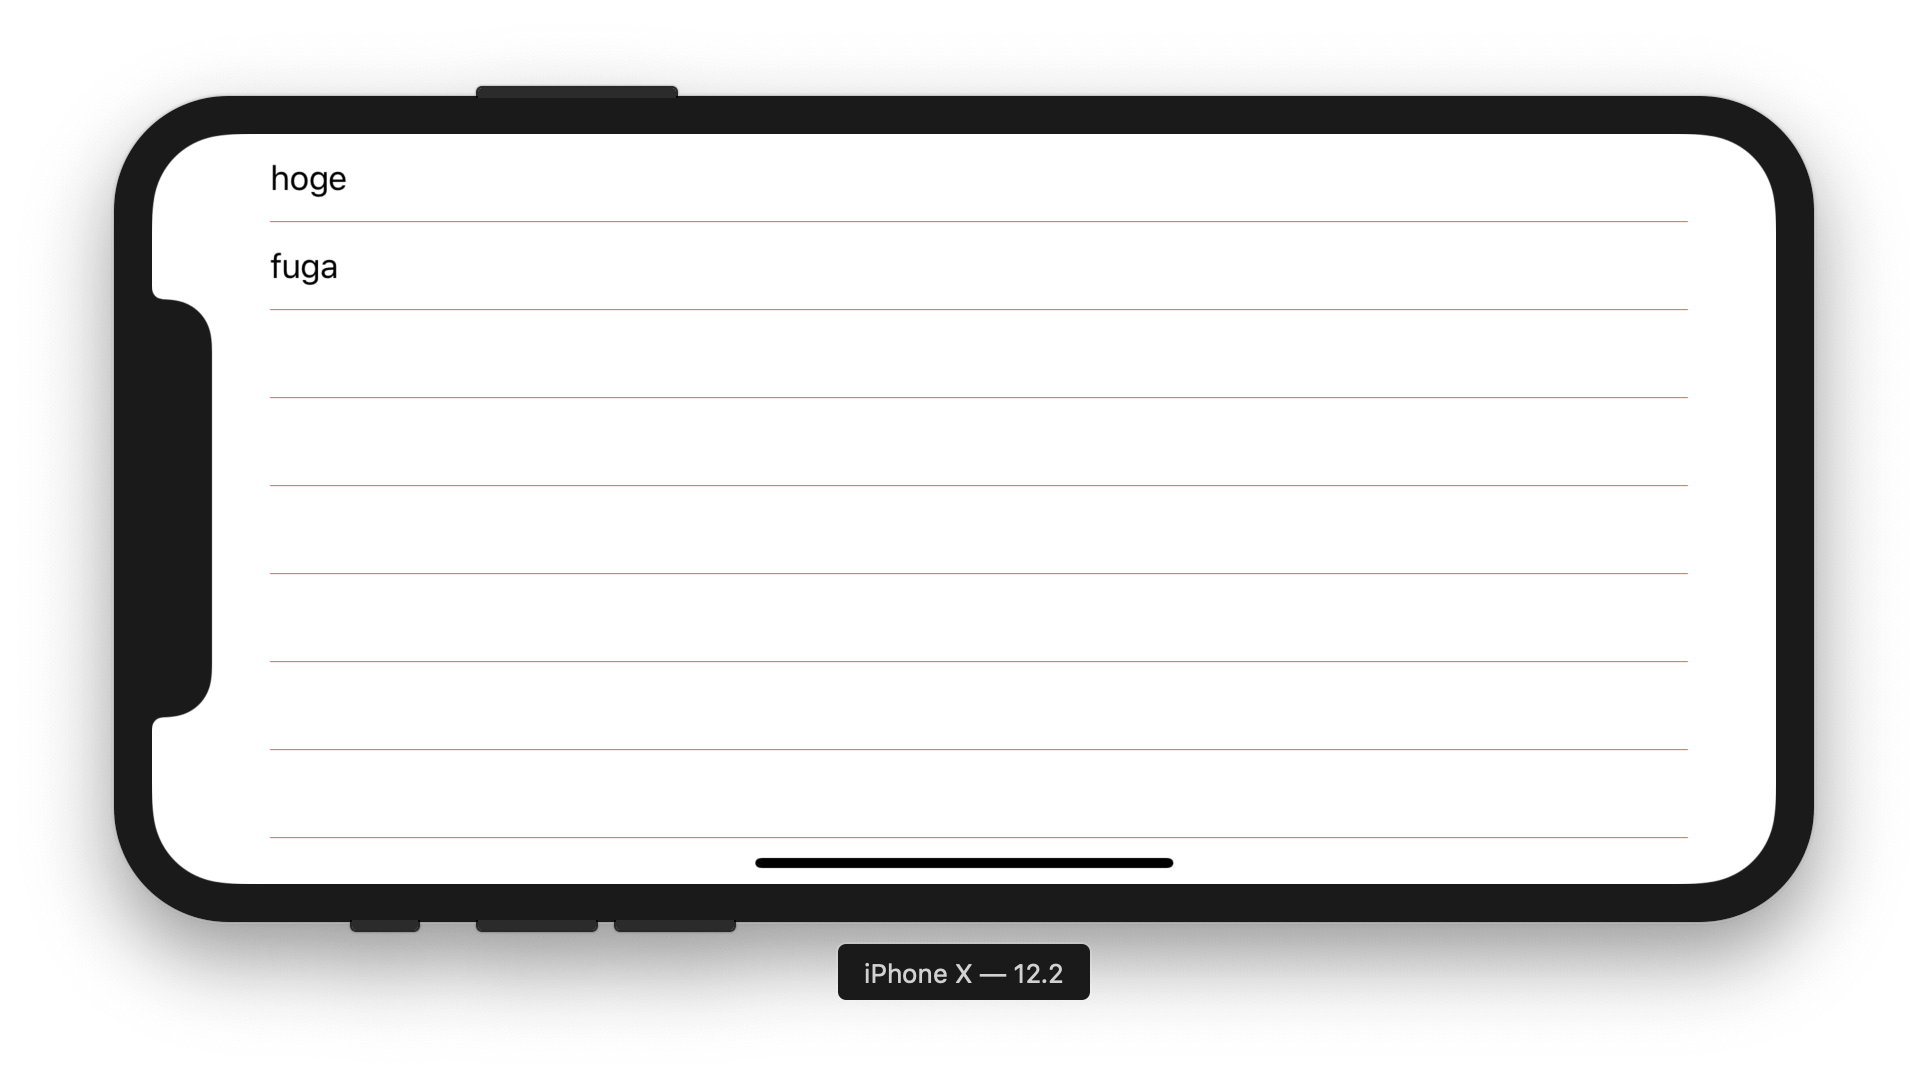
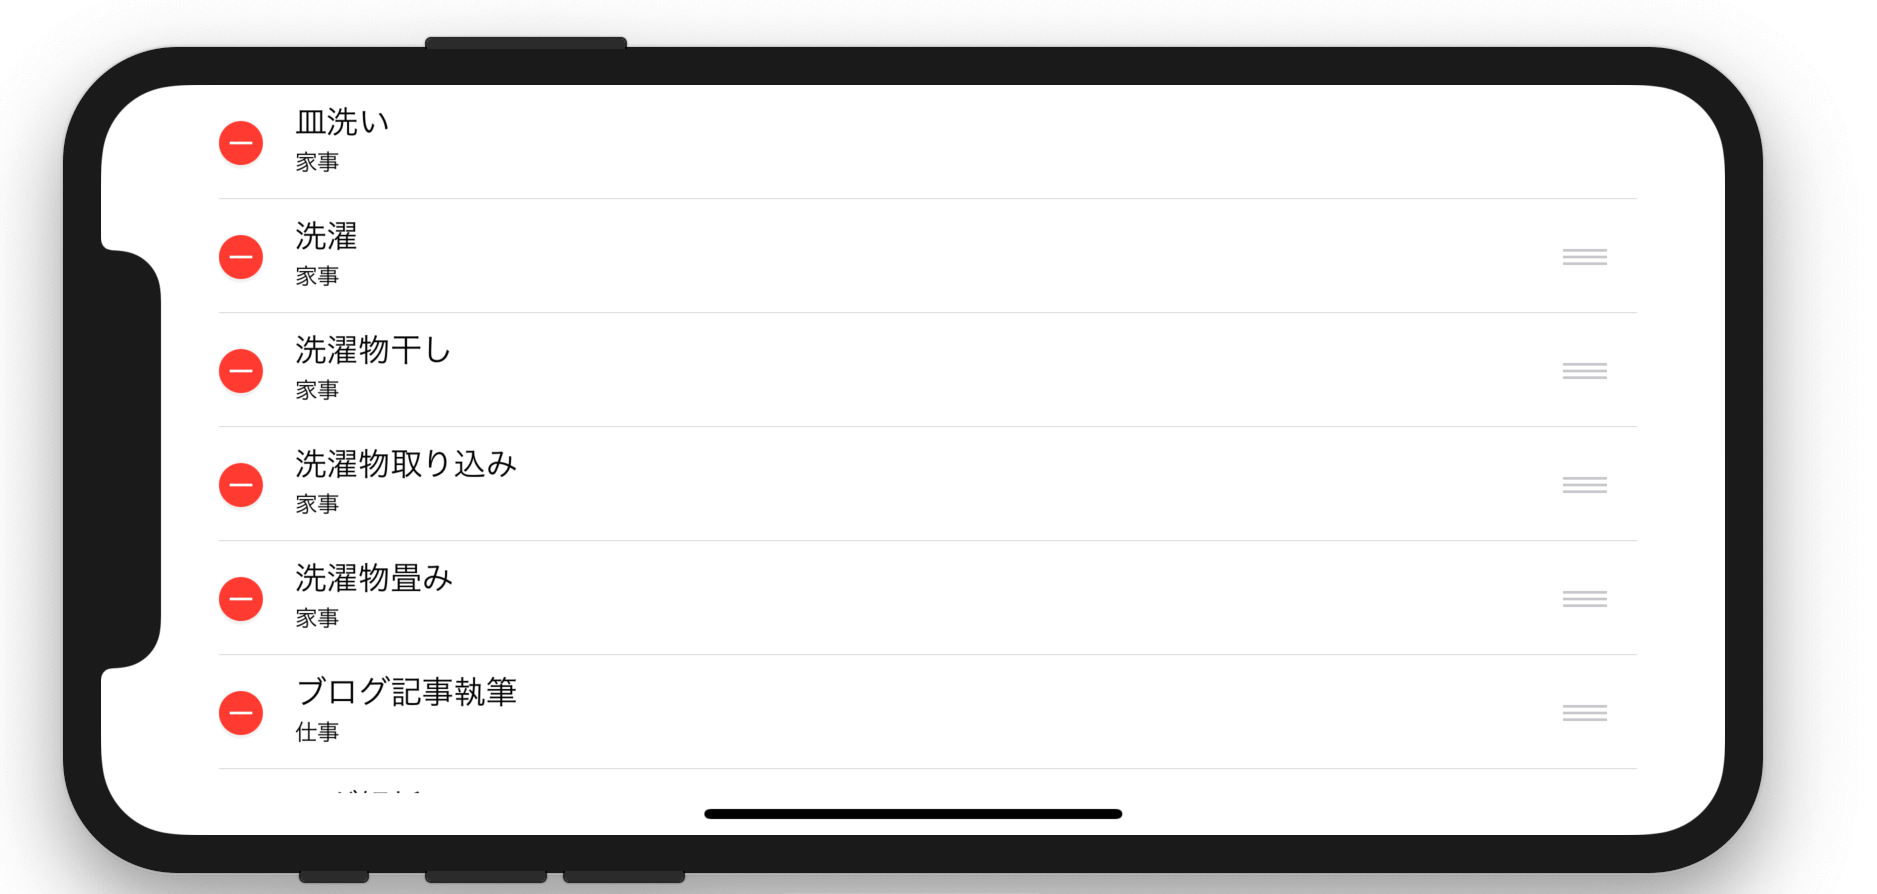
次のようなToDoをテーブルに並べて、それを削除したり並び替えたりできるようにします。

ToDoデータモデル
enum ToDoCategory: CustomStringConvertible {
    case business
    case home

    var description: String {
        switch self {
        case .business: return "仕事"
        case .home: return "家事"
        }
    }
}

struct ToDo {
    let name: String
    let category: ToDoCategory
}

var todos: [ToDo] = [
    ToDo(name: "皿洗い", category: .home),
    ToDo(name: "洗濯", category: .home),
    ToDo(name: "洗濯物干し", category: .home),
    ToDo(name: "洗濯物取り込み", category: .home),
    ToDo(name: "洗濯物畳み", category: .home),
    ToDo(name: "ブログ記事執筆", category: .business),
    ToDo(name: "ログ解析", category: .business),
]
なおテーブル表示は通常のテーブル表示と変わらず、データは↑のtodosを使っています。
テーブル表示の詳細はこちらの記事をどうぞ

削除はイベント検知したらデータとテーブルを更新する
削除は セル左側の赤◯ボタンを押すと右側から出てくる赤背景のアクションをタップするとイベントが呼ばれます。
その内部でテーブルとデータを更新します。
呼ばれるメソッドは UITableViewDataSource の func tableView(_:commit:forRowAt:) になります。
このメソッドに次のようにテーブルとデータを更新します。
func tableView(_ tableView: UITableView, commit editingStyle: UITableViewCell.EditingStyle, forRowAt indexPath: IndexPath) {
    todos.remove(at: indexPath.row)
    tableView.deleteRows(at: [indexPath], with: UITableView.RowAnimation.automatic)
}
これを実行すると次のように削除ボタンを選べばテーブルから削除されて、かつセルを隠して再更新させても復活しなくなります。
並び替えはイベント検知したらデータを更新する
並び替えはセルをドロップしたら、イベントが呼ばれます。 その内部でデータを更新します。 テーブルは既に変わっているので特に何もする必要はありません。
呼ばれるメソッドは UITableViewDataSource の func tableView(_:moveRowAt:to:) になります。
このメソッドに次のコードでようにデータを更新します
func tableView(_ tableView: UITableView, moveRowAt sourceIndexPath: IndexPath, to destinationIndexPath: IndexPath) {
    let todo = todos[sourceIndexPath.row]
    todos.remove(at: sourceIndexPath.row)
    todos.insert(todo, at: destinationIndexPath.row)
}
これを実行すると次のように並び替えた後でセルを隠して再更新しても並び順は維持されます。
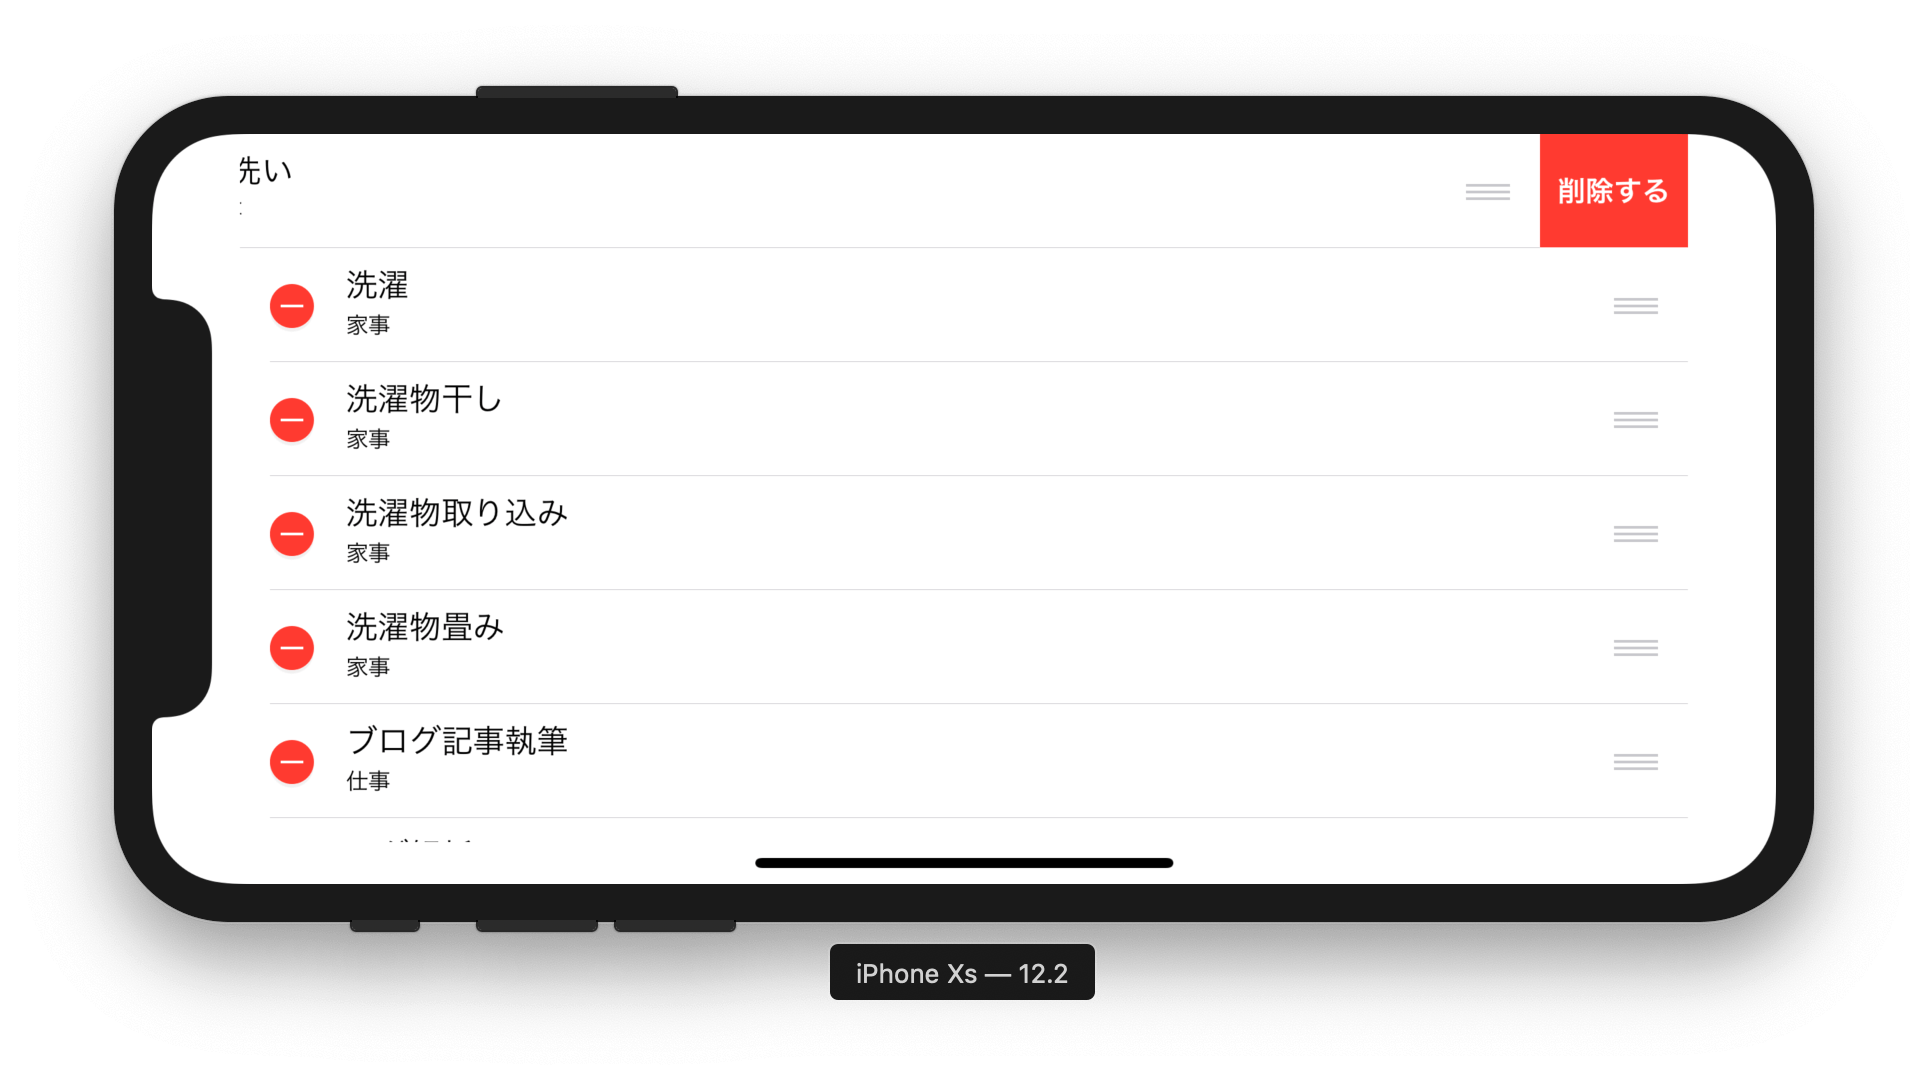
削除ラベルのタイトルを変える
セル右側の削除ラベルのタイトルは変えることができます。
変更用メソッドは UITableViewDelegate の tableView(_:titleForDeleteConfirmationButtonForRowAt:) -> String? になります。
このメソッドに次のように文字列を渡すことで変更できます。
func tableView(_ tableView: UITableView, titleForDeleteConfirmationButtonForRowAt indexPath: IndexPath) -> String? {
    return "削除する"
}
ちなみに nil を渡すとデフォルトで文字列ではなく空白になります。
並び替えのみ有効にする
削除はできず並び替えだけしたい場合があります。
その場合は UITableViewDelegate の tableView(_:editingStyleForRowAt:) -> UITableViewCell.EditingStyle を使います。
次のように実装します。
func tableView(_ tableView: UITableView, editingStyleForRowAt indexPath: IndexPath) -> UITableViewCell.EditingStyle {
    return .none
}
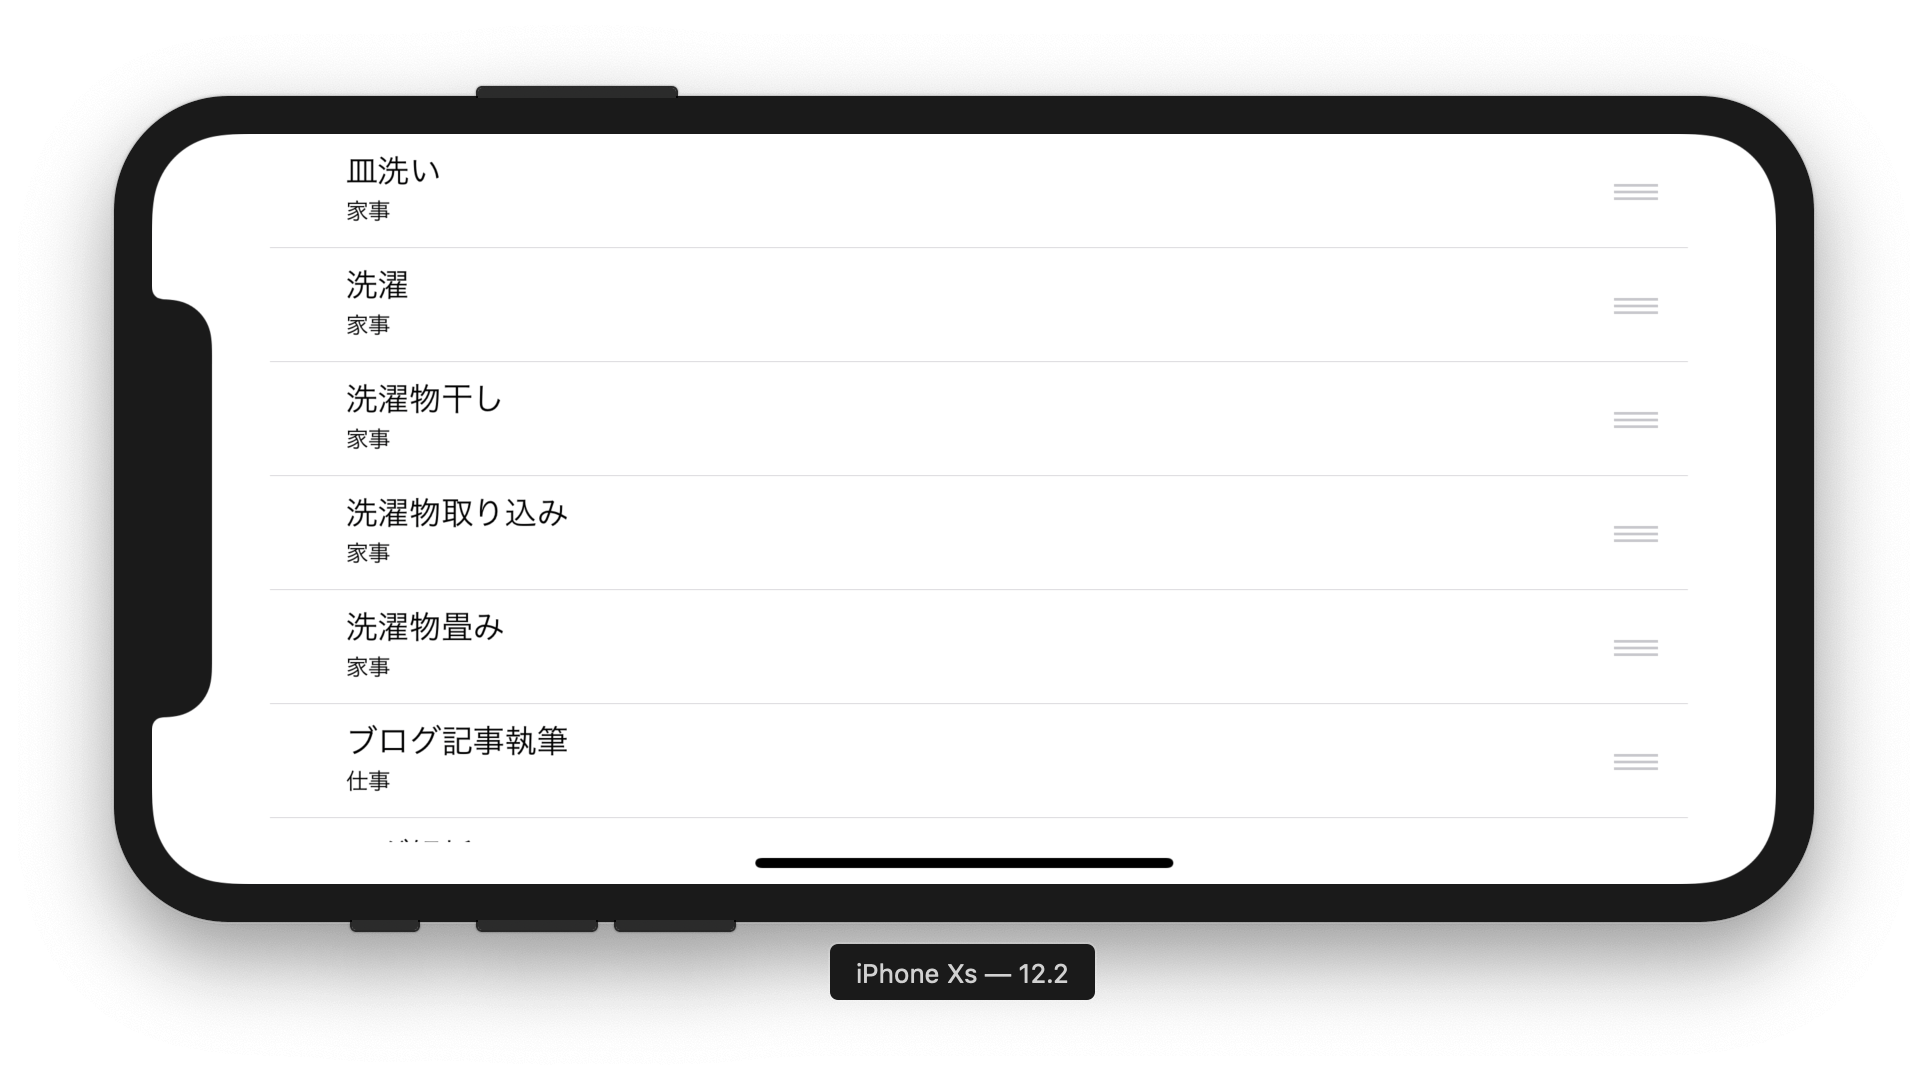
しかしこれだと左側に謎のスペースが残ったままになります。
これはインデントが作用してることが原因なので UITableViewDelegate の func tableView(_:shouldIndentWhileEditingRowAt:) -> Bool メソッドを使います。
先程のコードに次のコードを追加します。
func tableView(_ tableView: UITableView, shouldIndentWhileEditingRowAt indexPath: IndexPath) -> Bool {
    return false
}
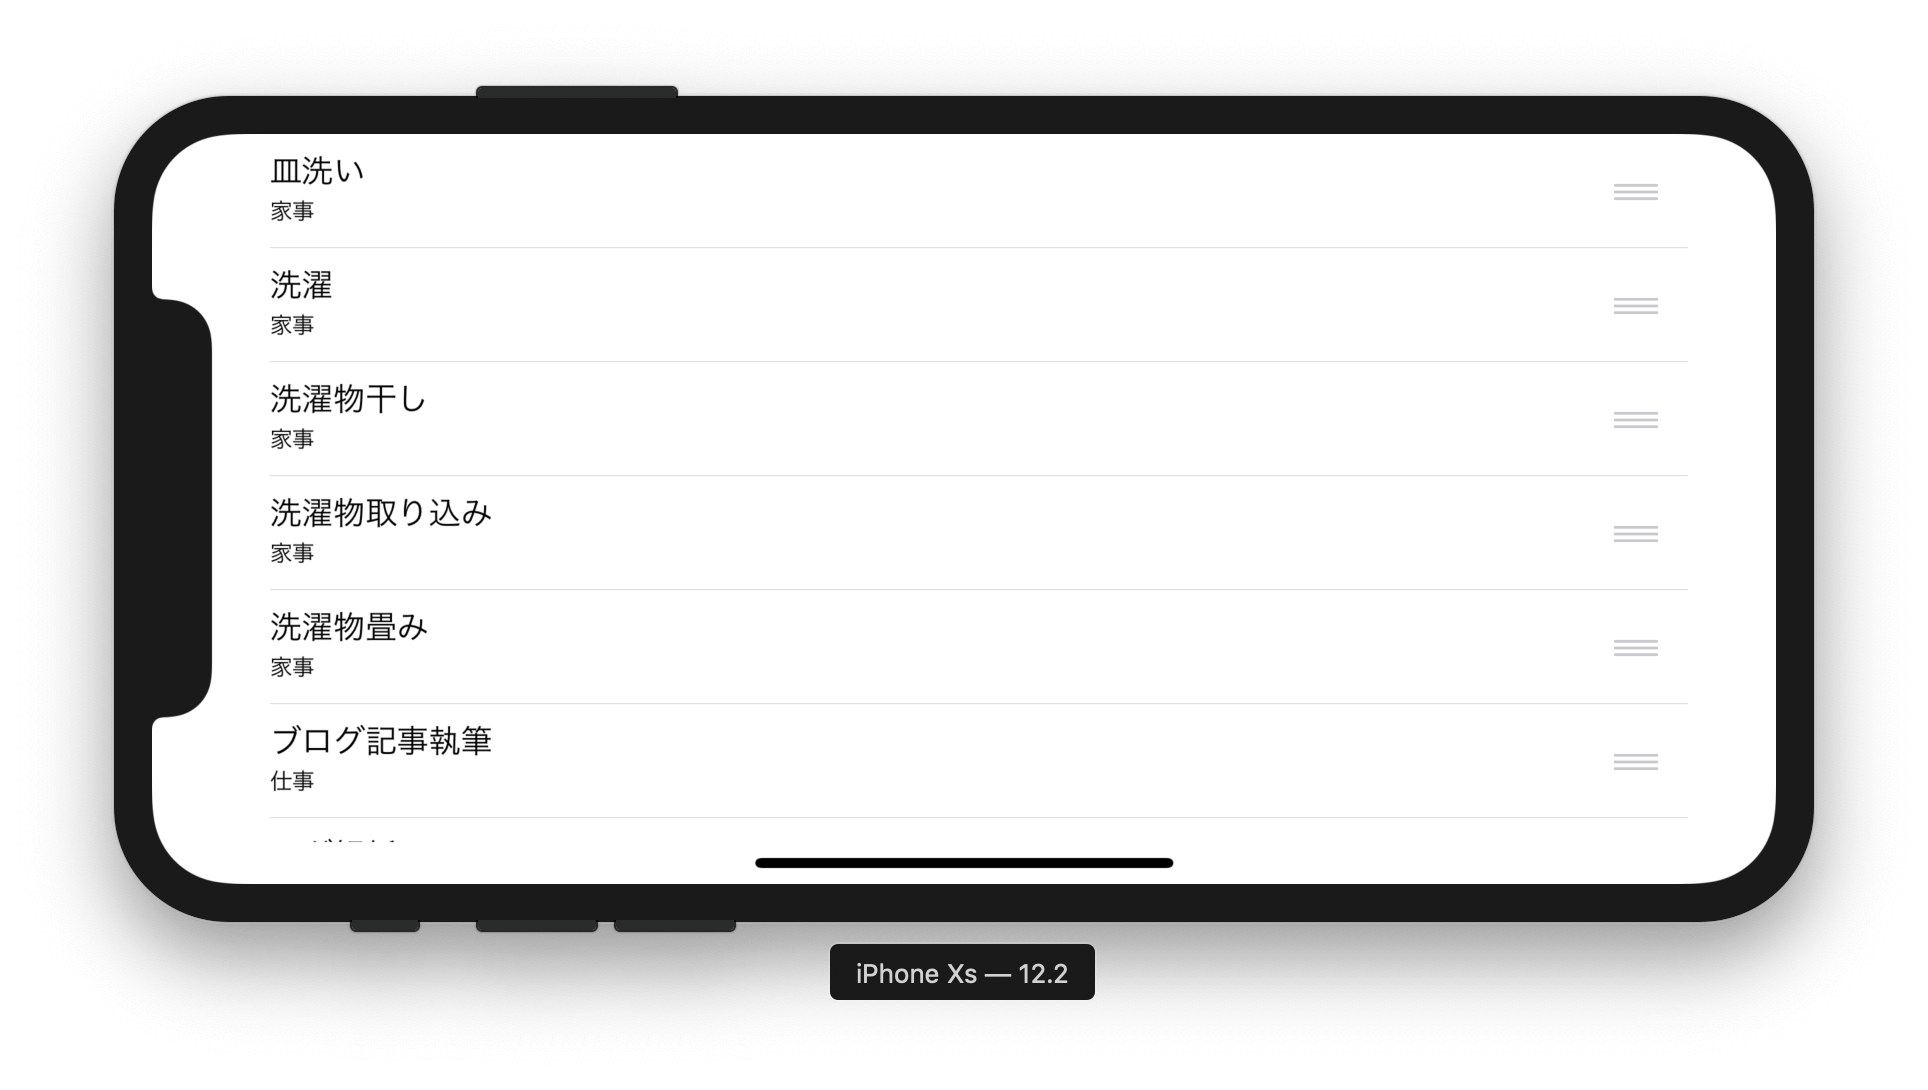
これでインデントによるスペースをなくすことができます。
削除のみを有効にする
並び替えはできず削除のみしたい場合があります。
その場合は UITableViewDataSource の tableView(_:canMoveRowAt:) -> Bool メソッドを使います。
次のコードを追加するだけです。
func tableView(_ tableView: UITableView, canMoveRowAt indexPath: IndexPath) -> Bool {
    return false
}
指定セルの編集モードできないようにする
セル単位で編集モードを出さないようにできます。
UITableViewDataSource の func tableView(_:canEditRowAt:) -> Bool メソッドを使います。
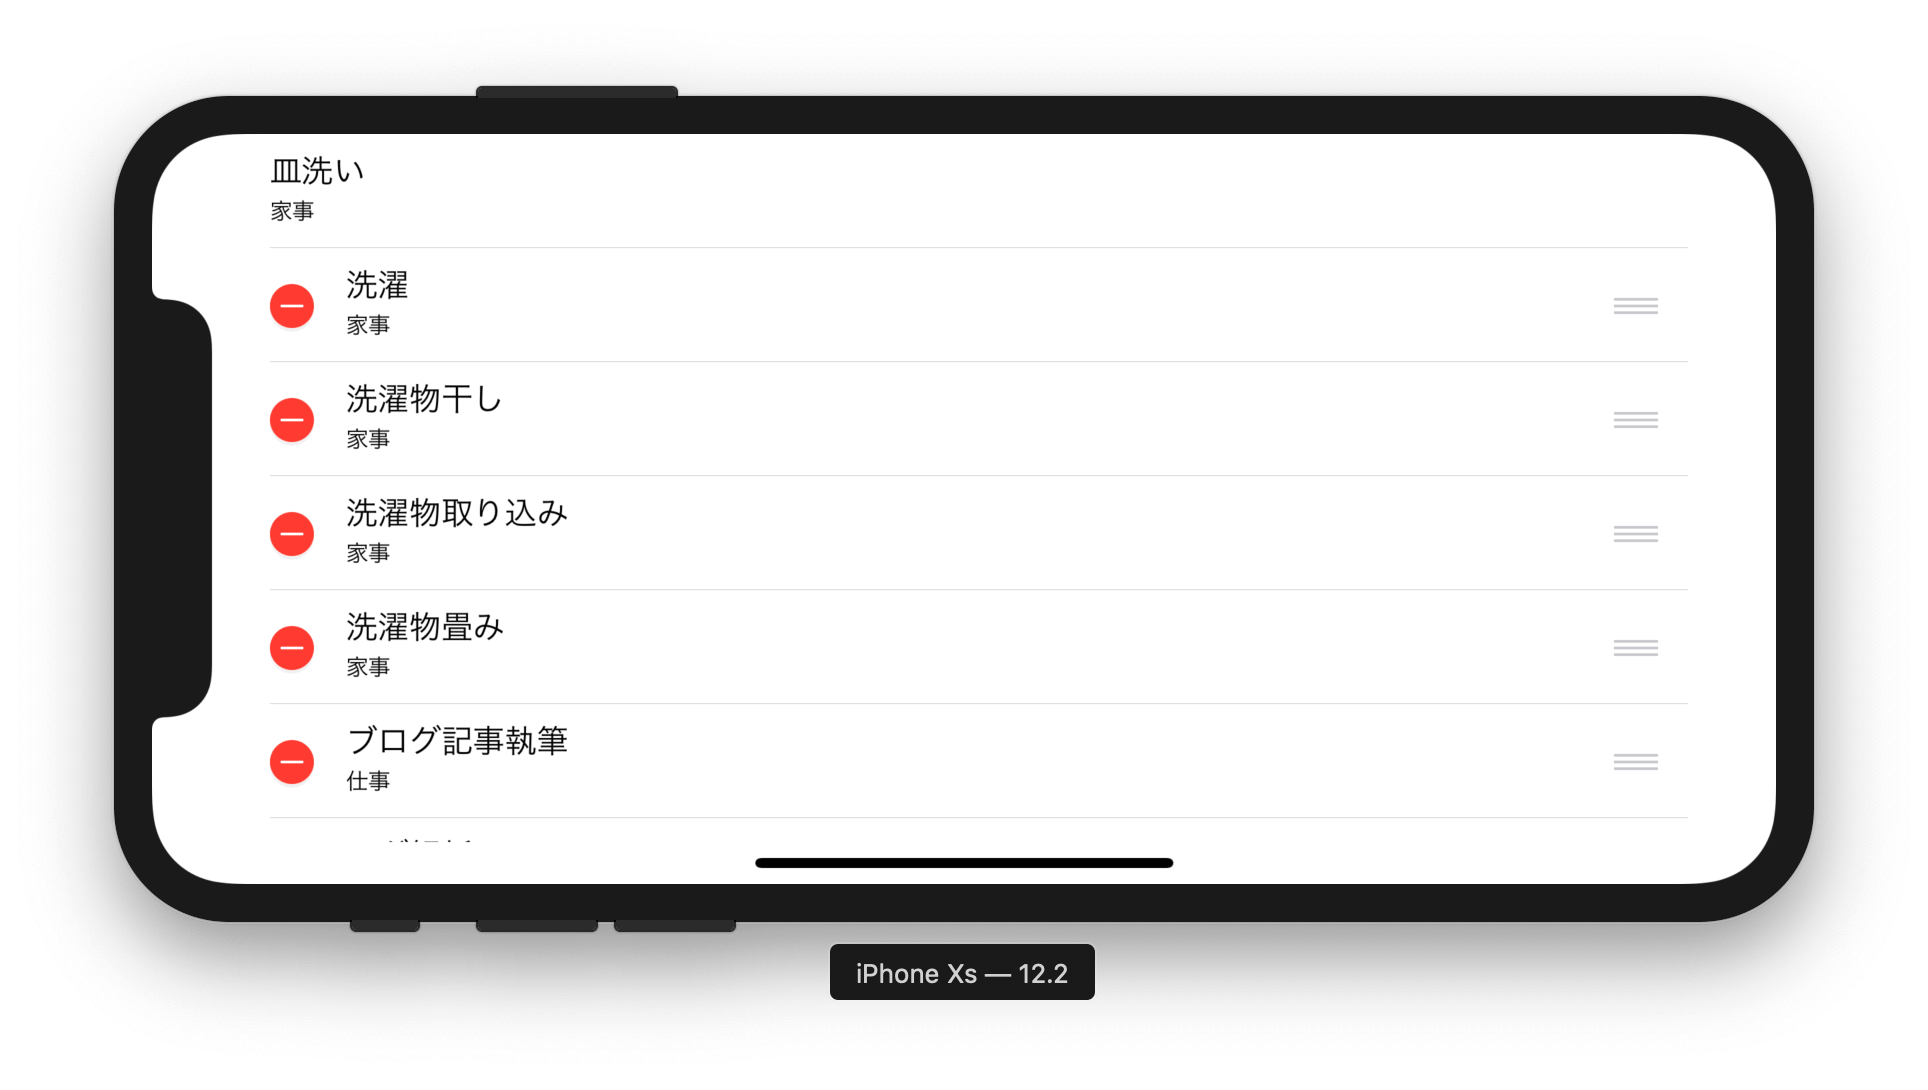
例えば一番上のセルのみを編集モード(削除,並び替え)が出ないようにした場合は でセル別に設定します。
func tableView(_ tableView: UITableView, canEditRowAt indexPath: IndexPath) -> Bool {
    if indexPath.row == 0 { return false }
    return true
}
これを実行すると次のように削除ボタンと並び替えがでなくなります。
ただし、他のセルの並び替えは有効なため、相対的に位置をずらすことはできます。
削除ではなく追加にする
前述したコードは全部アクションは削除一択でしたが、これを追加アクションにすることができます。
UITableViewDelegate の tableView(_:editingStyleForRowAt:) -> UITableViewCell.EditingStyle メソッドを使います。
既に 削除を無効にする方法で説明してるメソッドです。
このメソッドを次のようにすると追加アクションになります。
func tableView(_ tableView: UITableView, editingStyleForRowAt indexPath: IndexPath) -> UITableViewCell.EditingStyle {
    return .insert
}
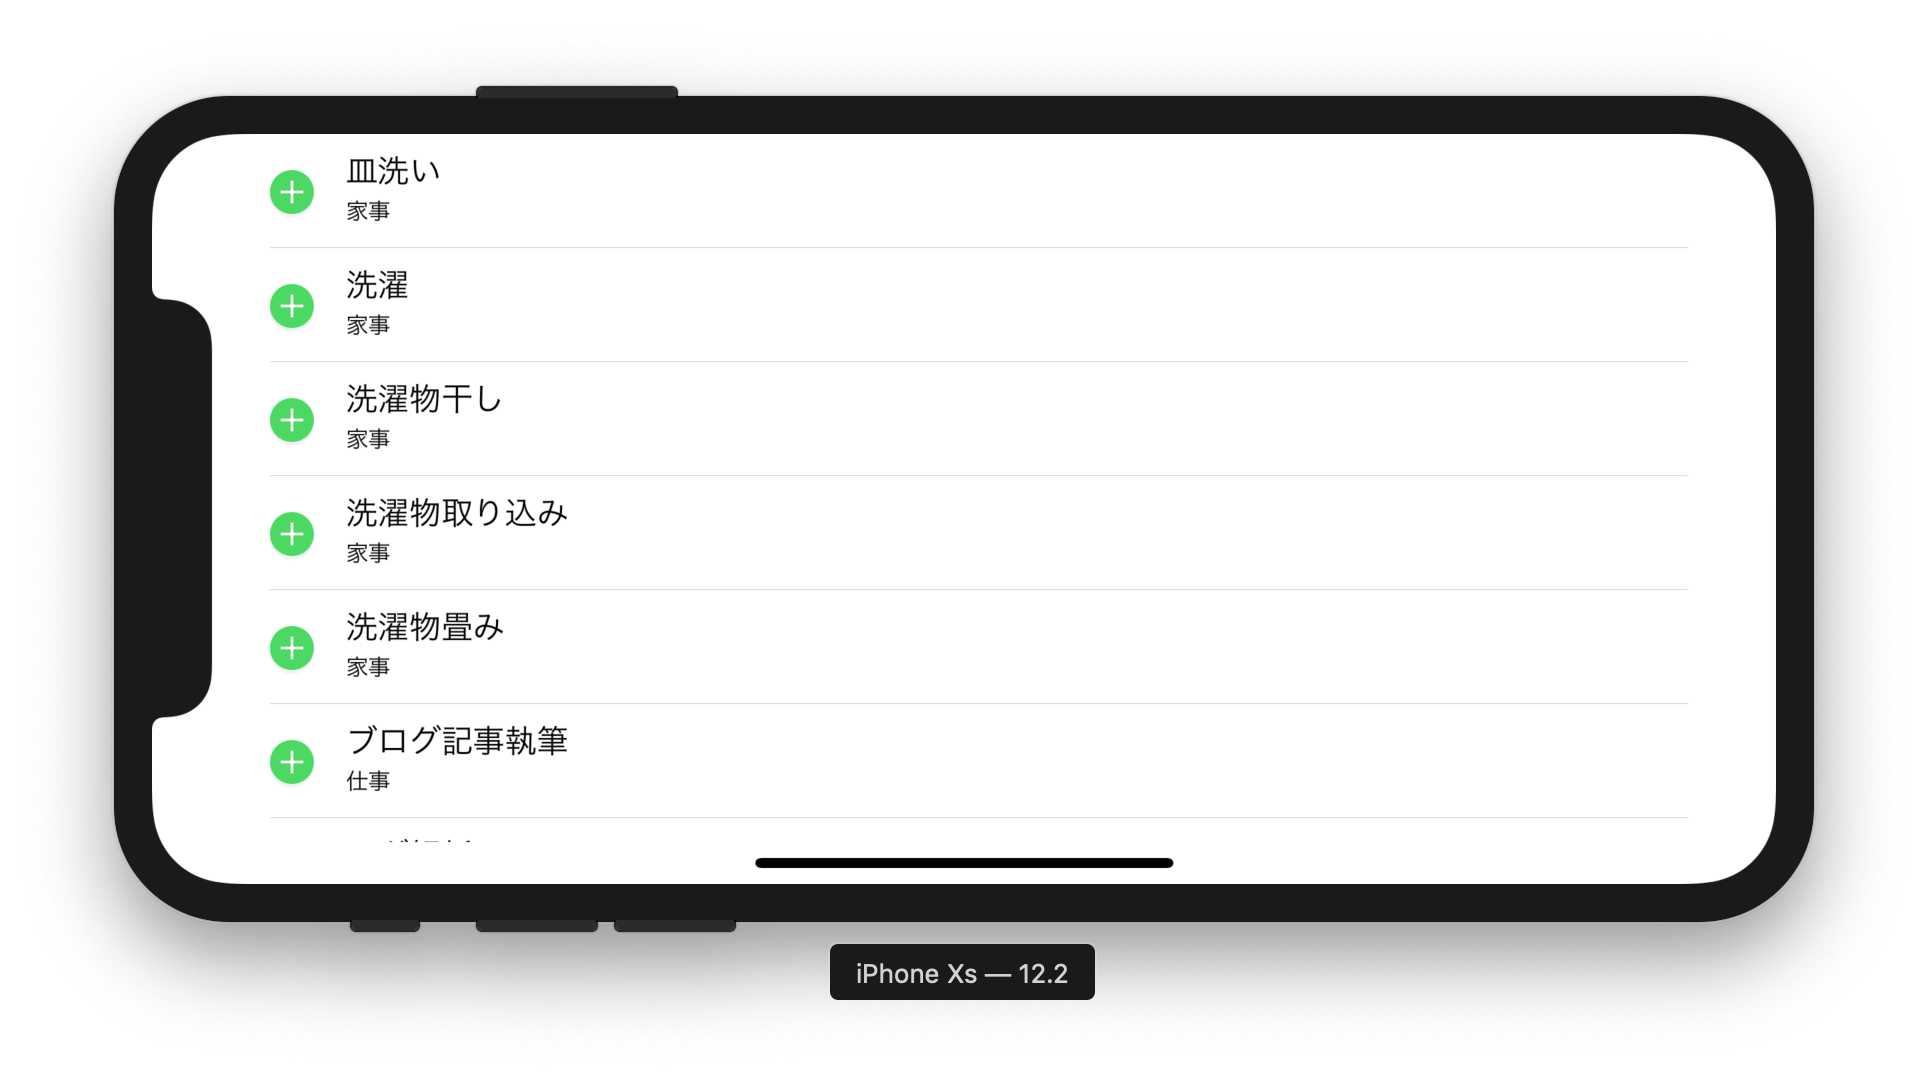
削除と違って追加ボタンを押すとすぐに
UITableViewDataSource の tableView(_:commit:forRowAt:) メソッドが呼ばれます。
これは削除時と同じメソッドです。
削除と追加を分けるには引数の editingStyle: UITableViewCell.EditingStyle で削除として呼ばれたのか追加として呼ばれたのか判別できます。
例えば削除と追加を混じったコードは次のようになります。
func tableView(_ tableView: UITableView, commit editingStyle: UITableViewCell.EditingStyle, forRowAt indexPath: IndexPath) {
    if editingStyle == .delete{
        todos.remove(at: indexPath.row)
        tableView.deleteRows(at: [indexPath], with: UITableView.RowAnimation.automatic)
    } else if editingStyle == .insert {
        let newTodo = ToDo(name: "可燃ごみ", category: .home)
        // +1 だとセルの下に追加されます
        let newIndexPath = IndexPath(row: indexPath.row + 1, section: indexPath.section)
        todos.insert(newTodo, at: newIndexPath.row)

        tableView.insertRows(at: [newIndexPath], with: UITableView.RowAnimation.automatic)
        print(#function)
    }
}
アクションをカスタマイズする
上記のようにアクションをカスタマイズできます。
カスタマイズには UITableViewDelegate の func tableView(_:editActionsForRowAt) -> [UITableViewRowAction]? メソッドを使います。
このメソッドを次のように実装します。
また、このメソッドを実装すると、tableView(_:titleForDeleteConfirmationButtonForRowAt:) は使われなくなります。
このとき tableView(_:editingStyleForRowAt:) -> UITableViewCell.EditingStyle は .delete でないと出てきません。
func tableView(_ tableView: UITableView, editActionsForRowAt indexPath: IndexPath) -> [UITableViewRowAction]? {
    return [
        UITableViewRowAction(style: .default, title: "default", handler: { (rowAction, indexPath) in
            print(#function + "rowAction: \(rowAction)")
        }),
        UITableViewRowAction(style: .normal, title: "normal", handler: { (rowAction, indexPath) in
            print(#function + "rowAction: \(rowAction)")
        }),
        UITableViewRowAction(style: .destructive, title: "destructive", handler: { (rowAction, indexPath) in
            print(#function + "rowAction: \(rowAction)")
        })
    ]
}
各アクションのタップは UITableViewRowAction 毎のハンドラーで処理します。上記コードはコンソールに出力してるだけになります。
スワイプ用アクションで前方スワイプと後方スワイプでのアクションを制御する
左から右スワイプと右から左スワイプでアクションを出します。
このスワイプアクションは編集モードとは独立しており、TableView.isEditing が true だと編集モードのほうを優先されるため機能しません。なのでtableView.isEditing を false にしてください。
アクションには通常アクションと削除アクションの2種類がある
色が違うだけでなく挙動が少しことなります。通常アクションは, アクションが1つの場合スワイプされたらアクションが自動で実行されます。
アクションが2つの場合はスワイプしたらアクション2つが表示されたままの状態を維持するので、どちらかのアクションをタップして選びます。
削除スワイプは、通常スワイプのアクションが2つ以上だった場合と同じ挙動がアクションが1つでも起きます。
前方スワイプ
UITableViewDelegate の tableView(_:leadingSwipeActionsConfigurationForRowAt:) -> UISwipeActionsConfiguration? メソッドを実装します。
func tableView(_ tableView: UITableView, leadingSwipeActionsConfigurationForRowAt indexPath: IndexPath) -> UISwipeActionsConfiguration? {
    let action = UIContextualAction(style: .normal, title: "normal") { (ctxAction, view, completionHandler) in
        print(#function)
        completionHandler(true)
    }
    return UISwipeActionsConfiguration(actions: [action, action2])
}
コードのように UIContextualAction を配列で UISwipeActionsConfiguration に渡し返す必要があります。
UIContextualAction 1つにつきアクション1つと結びつきます。
UIContextualAction の3つ目の引数がアクションとなる処理を書いて、完了したら completionHandler を呼びます。
後方スワイプ
UITableViewDelegate の tableView(_:trailingSwipeActionsConfigurationForRowAt:) -> UISwipeActionsConfiguration? メソッドを実装します
使い方は前方スワイプと同じです。
func tableView(_ tableView: UITableView, trailingSwipeActionsConfigurationForRowAt indexPath: IndexPath) -> UISwipeActionsConfiguration? {

    let action = UIContextualAction(style: .destructive, title: "destructive") { (ctxAction, view, completionHandler) in
        print(#function)
        completionHandler(true)
    }

    return UISwipeActionsConfiguration(actions: [action])
}
後方スワイプの .destructive は自動でセルが消えます。
しかしデータ側を教えておかないと、セルの再読み込み時に元に戻ってしまいます。
編集モード前後イベント
編集モードの開始直前と終了直後のイベントを受け取ることができます。
UITableViewDelegate の tableView(_:willBeginEditingRowAt:) と tableView(_:didEndEditingRowAt:) メソッドです。
// 行ごとの編集モード開始直前
func tableView(_ tableView: UITableView, willBeginEditingRowAt indexPath: IndexPath) {
    print(#function)
}

// 行ごとの編集モード完了直後
func tableView(_ tableView: UITableView, didEndEditingRowAt indexPath: IndexPath?) {
    print(#function)
}
並び替え制御
並び替えの許可や制御を行うことができます。
UITableViewDelegate の tableView(_:targetIndexPathForMoveFromRowAt:toProposedIndexPath:) -> IndexPath メソッドです。
デフォルトの並び替えではセクションを横断して並び替えをすることが可能です。 これを例えばセクションをまたいだ並び替えを禁止して、またいだ場合は移動前に戻したい場合は次のコードのように使うことができます。
func tableView(_ tableView: UITableView, targetIndexPathForMoveFromRowAt sourceIndexPath: IndexPath, toProposedIndexPath proposedDestinationIndexPath: IndexPath) -> IndexPath {
    if sourceIndexPath.section == proposedDestinationIndexPath.section {
        return proposedDestinationIndexPath
    }
    return sourceIndexPath
}
メニュー制御
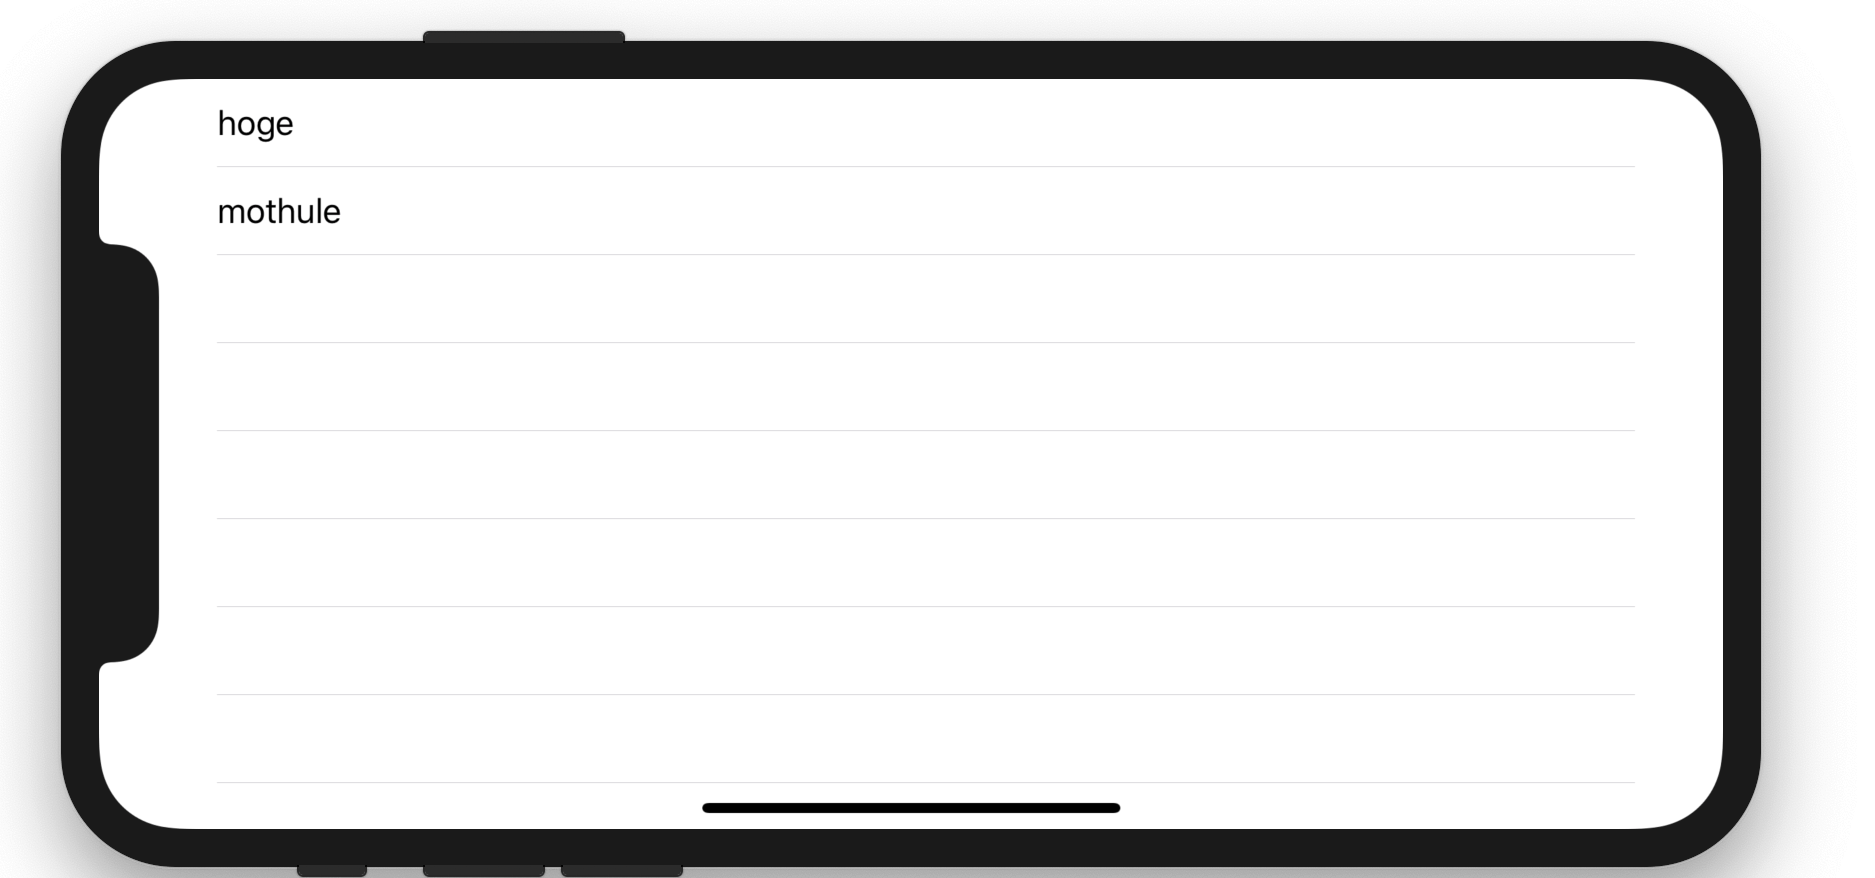
テキストを長押ししたらコピーやカットなどが出るメニューがあります。
テーブルのセルを長押ししたらメニューを出すことができます。
メニューを表示させるには1度に3つのメソッドを実装する必要があります。1つでも抜けてると機能しません。
UITableViewDelegateのtableView(_:shouldShowMenuForRowAt:) -> BoolUITableViewDelegateのtableView(_:canPerformAction:forRowAt:withSender:) -> BoolUITableViewDelegateのtableView(_:performAction:forRowAt:withSender:)
それぞれがメニューの表示許可, アクション毎の実行許可, アクション実行時の処理になります。
この3つのメソッドを実装するとメニューが呼べるようになります。
func tableView(_ tableView: UITableView, shouldShowMenuForRowAt indexPath: IndexPath) -> Bool {
    return true
}

func tableView(_ tableView: UITableView, canPerformAction action: Selector, forRowAt indexPath: IndexPath, withSender sender: Any?) -> Bool {
    print(#function + "action: \(action)")
    return true
}

func tableView(_ tableView: UITableView, performAction action: Selector, forRowAt indexPath: IndexPath, withSender sender: Any?) {
    print(#function)
}
上記コードを実行して、次のコンソールログは長押しでメニューを出したときの動画とログになります。
tableView(_:canPerformAction:forRowAt:withSender:)action: didSetResponderTargetForCalloutBar:
tableView(_:canPerformAction:forRowAt:withSender:)action: cut:
tableView(_:canPerformAction:forRowAt:withSender:)action: copy:
tableView(_:canPerformAction:forRowAt:withSender:)action: select:
tableView(_:canPerformAction:forRowAt:withSender:)action: selectAll:
tableView(_:canPerformAction:forRowAt:withSender:)action: paste:
tableView(_:canPerformAction:forRowAt:withSender:)action: delete:
tableView(_:canPerformAction:forRowAt:withSender:)action: _promptForReplace:
tableView(_:canPerformAction:forRowAt:withSender:)action: _transliterateChinese:
tableView(_:canPerformAction:forRowAt:withSender:)action: _insertDrawing:
tableView(_:canPerformAction:forRowAt:withSender:)action: _showTextStyleOptions:
tableView(_:canPerformAction:forRowAt:withSender:)action: _lookup:
tableView(_:canPerformAction:forRowAt:withSender:)action: _addShortcut:
tableView(_:canPerformAction:forRowAt:withSender:)action: _accessibilitySpeak:
tableView(_:canPerformAction:forRowAt:withSender:)action: _accessibilitySpeakLanguageSelection:
tableView(_:canPerformAction:forRowAt:withSender:)action: _accessibilityPauseSpeaking:
tableView(_:canPerformAction:forRowAt:withSender:)action: _share:
tableView(_:canPerformAction:forRowAt:withSender:)action: makeTextWritingDirectionRightToLeft:
tableView(_:canPerformAction:forRowAt:withSender:)action: makeTextWritingDirectionLeftToRight:

tableView(_:canPerformAction:forRowAt:withSender:)action: cut:
tableView(_:performAction:forRowAt:withSender:)
改行手前は、 各メニューアクションが実行可能か検証するために呼ばれています。
改行後は、切り取りをタップしたときに呼ばれています。検証と実行が呼ばれています。
アクションを制限する
例えばコピーとカットのみにアクションを制限したいなら、次のコードで2つに絞ることが出来ます。
func tableView(_ tableView: UITableView, canPerformAction action: Selector, forRowAt indexPath: IndexPath, withSender sender: Any?) -> Bool {
    print(#function + "action: \(action)")
    if action == #selector(copy(_:)) || action == #selector(cut(_:)) {
        return true
    }
    return false
}

どれも簡単な物ばかり
UITableViewDelegate の中身にはたくさんのメソッドがあって折れそうになりますが、1つ1つ見て試すとそんなに難しいものはなくどれも簡単に実装できるものばかりです。
ただ今回のセル編集機能のような少し凝ったUIは、データ構造がUIとの親和性をよくする設計になっていないと苦労すると思います。