【初心者向け】UITableViewCellのスタイル一覧
Table of Contents
UITableViewCellには予めデフォルトで用意されたスタイルが存在します。
この記事ではそのスタイル一覧を紹介します。
アプリ開発初期やプロト版、記事用サンプルといったスピードを強く求められる段階においてデフォルトスタイルを把握しておくと
わざわざカスタマイズして車輪の再発明を避けることが出来ます。
デフォルトのスタイルにはUI数が決まっている
スタイルによっては使われるUIや位置や色など属性は異なりますが、 原則3UIで構成されており、UITableViewCellの次の3つで制御します。
- textLabel: UILabel
- imageView: UIImageView
- detailTextLabel: UILabel
UITableViewCellのスタイル一覧
UITableViewCell.CellStyle に一覧があります。次のコードは定義コードです。
public enum CellStyle : Int {
    case `default`
    case value1
    case value2
    case subtitle
}
一つ一つ見ていきます。
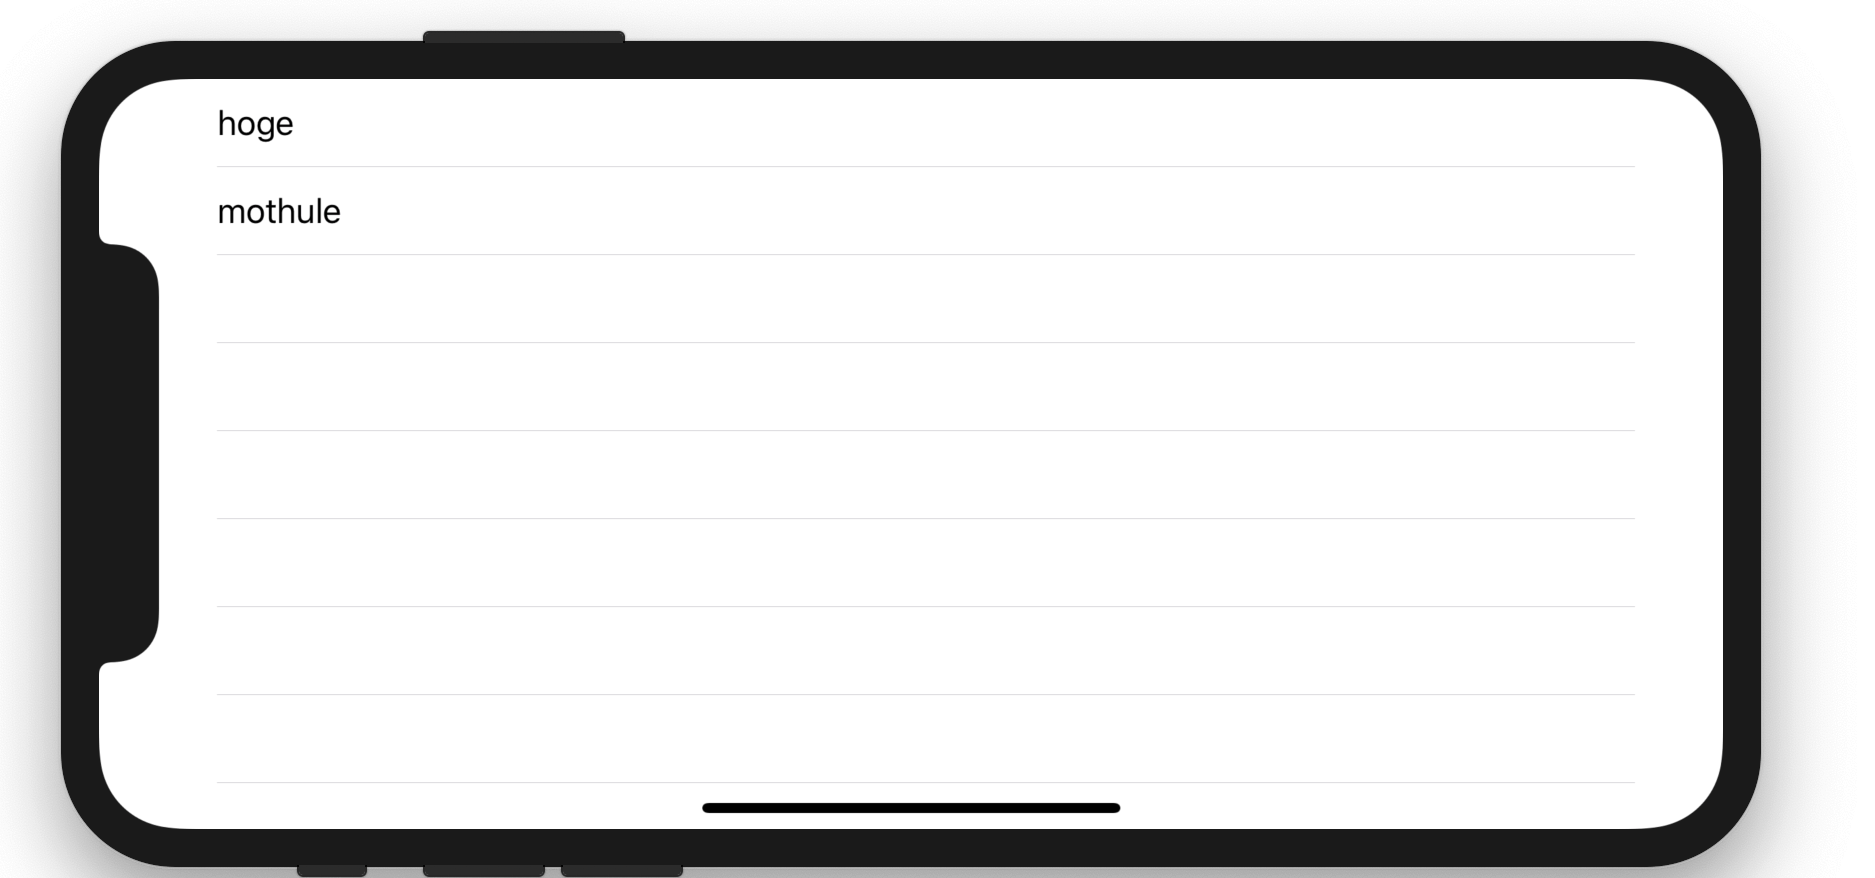
CellStyle.default
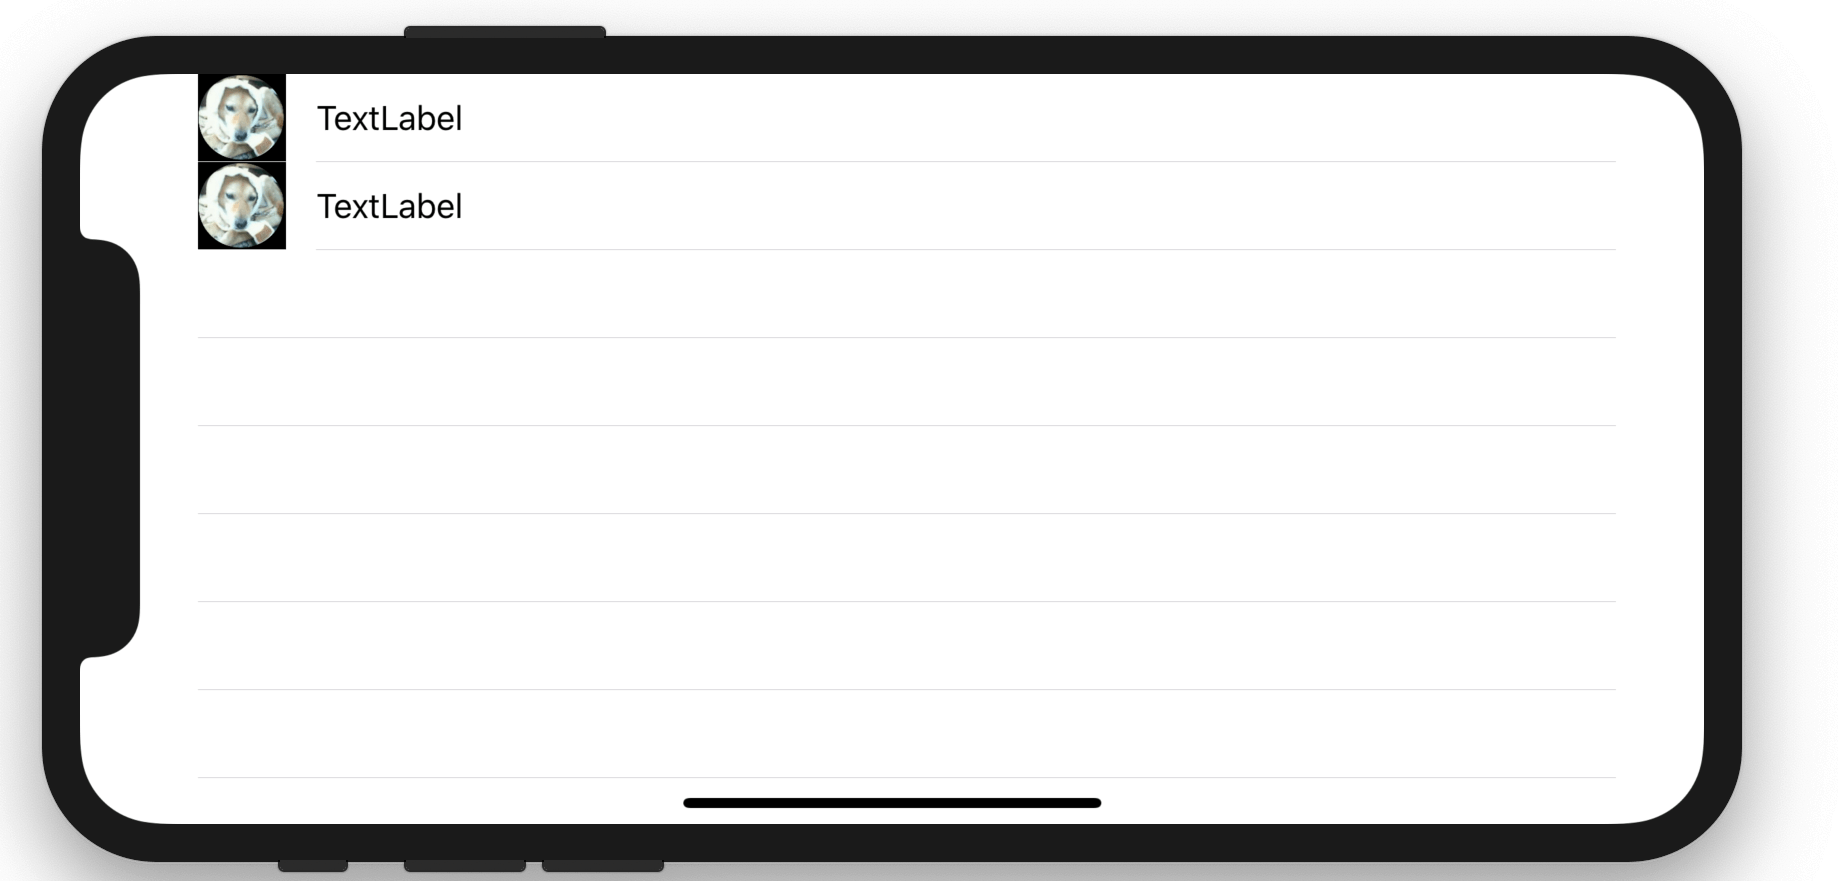
画像とすぐ横のラベルが用意されています。 次のコードのように紐付いています。
cell.textLabel?.text = "TextLabel"
cell.imageView?.image = UIImage(named: "icon")
なお
cell.detailTextLabel?.text = "DetailTextLabel"
は何も起こりません。
CellStyle.value1
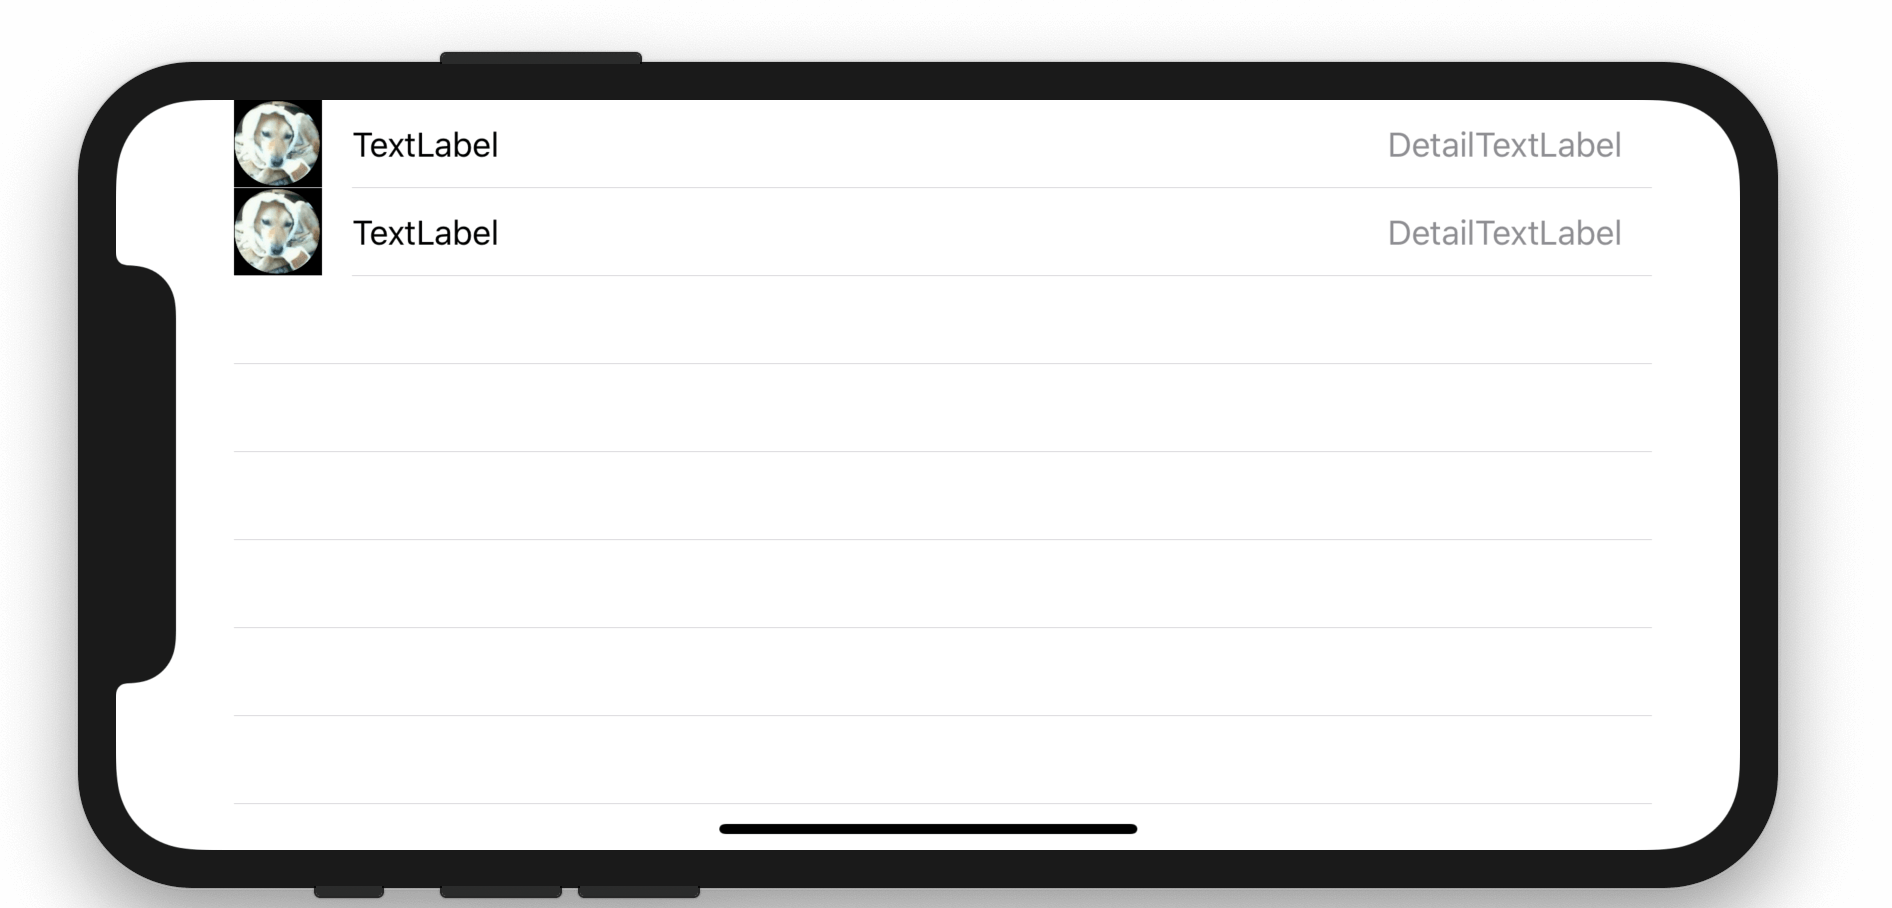
.default のレイアウトに右側にグレイカラーのラベルが追加されてます。
コードは次のようになっています。
cell.textLabel?.text = "TextLabel"
cell.imageView?.image = UIImage(named: "icon")
cell.detailTextLabel?.text = "DetailTextLabel"
CellStyle.value2
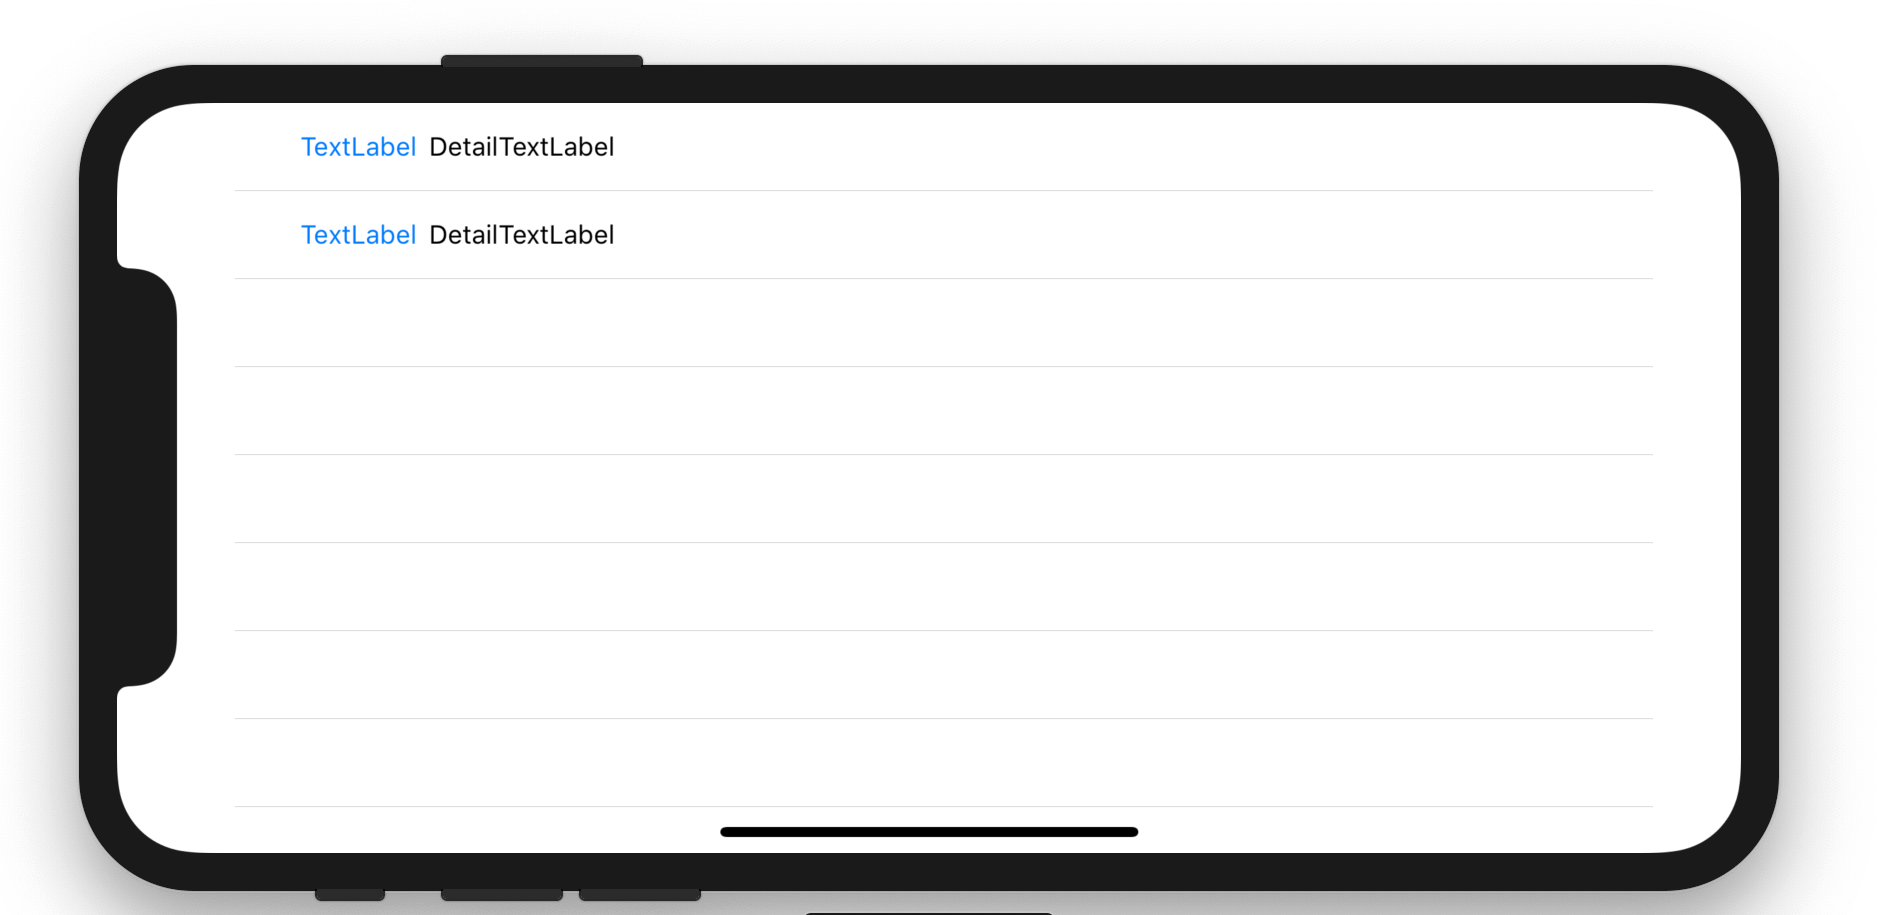
青色のラベルとすぐ横に黒色のラベルがあり、画像はありません。
コードは次のようになっています。
cell.textLabel?.text = "TextLabel"
cell.detailTextLabel?.text = "DetailTextLabel"
なお、
cell.imageView?.image = UIImage(named: "icon")
を入れても何も起こりません。
CellStyle.subtitle
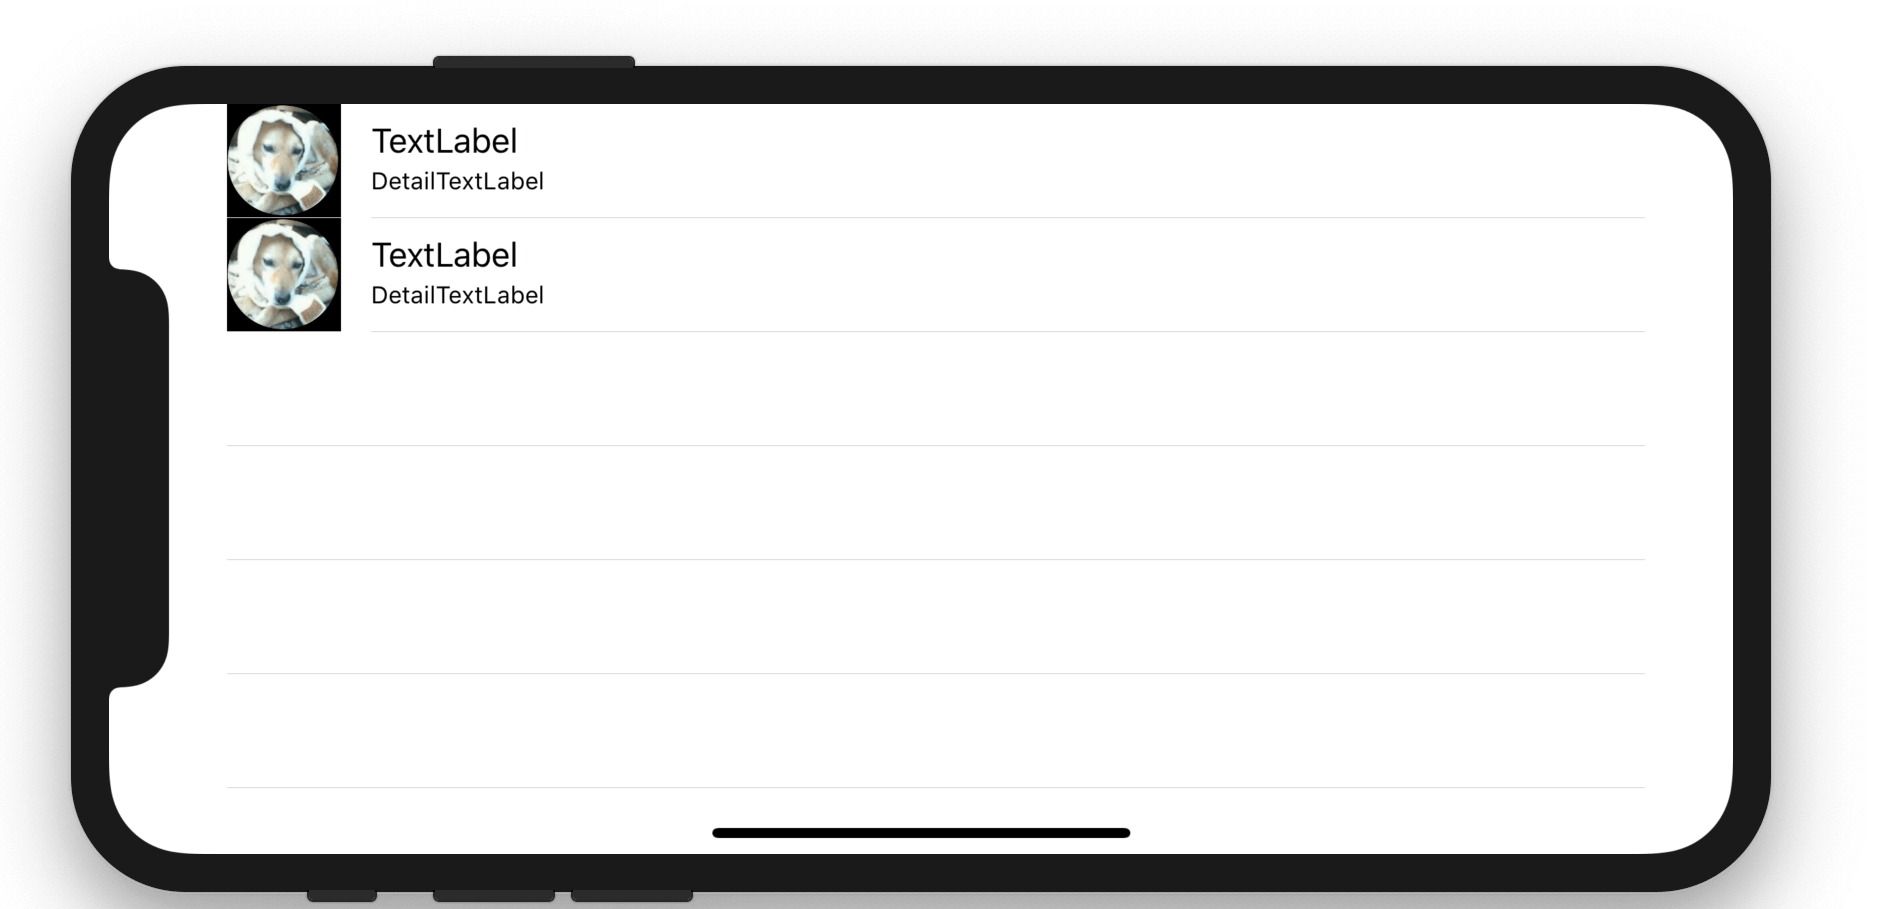
画像, ラベル2つの構成で、2つ目のラベルはスタイル名の通りサブタイトル化してます。
コードは次のようになっています。
cell.textLabel?.text = "TextLabel"
cell.imageView?.image = UIImage(named: "icon")
cell.detailTextLabel?.text = "DetailTextLabel"