【初心者向け】UITableViewDataSourceを別クラス化する方法とメリット
Table of Contents
UITableView(テーブル)の構築に必須のUITableViewDataSourceですが、ネットで見かける記事のサンプルなどでは、記事の都合上ほぼ必ずUIViewControllerにプロトコルを採用しています。
しかし実際のアプリ開発では、必ずしもそうとは限らず ViewController が複雑になればリファクタリングとして DataSource を別クラスに分離させることもあります。
今回は別クラスでUITableViewDataSourceプロトコルを実装する方法とそうすることのメリットについて説明します。
データソースの前提
実装の前に、データソースについて理解する必要があります。この理解が設計に関係するためです。
- DataSourceのスコープはViewControllerが持つUITableViewと同じです。
- つまりViewControllerが終わるときにはDataSourceも同時に不要になります。
準備: データモデルとデータを用意
データモデルは今回は簡単なユーザーモデルを用意します。 今回はサーバーではなくローカルに擬似的にデータを用意します。
struct User {
let name: String
}
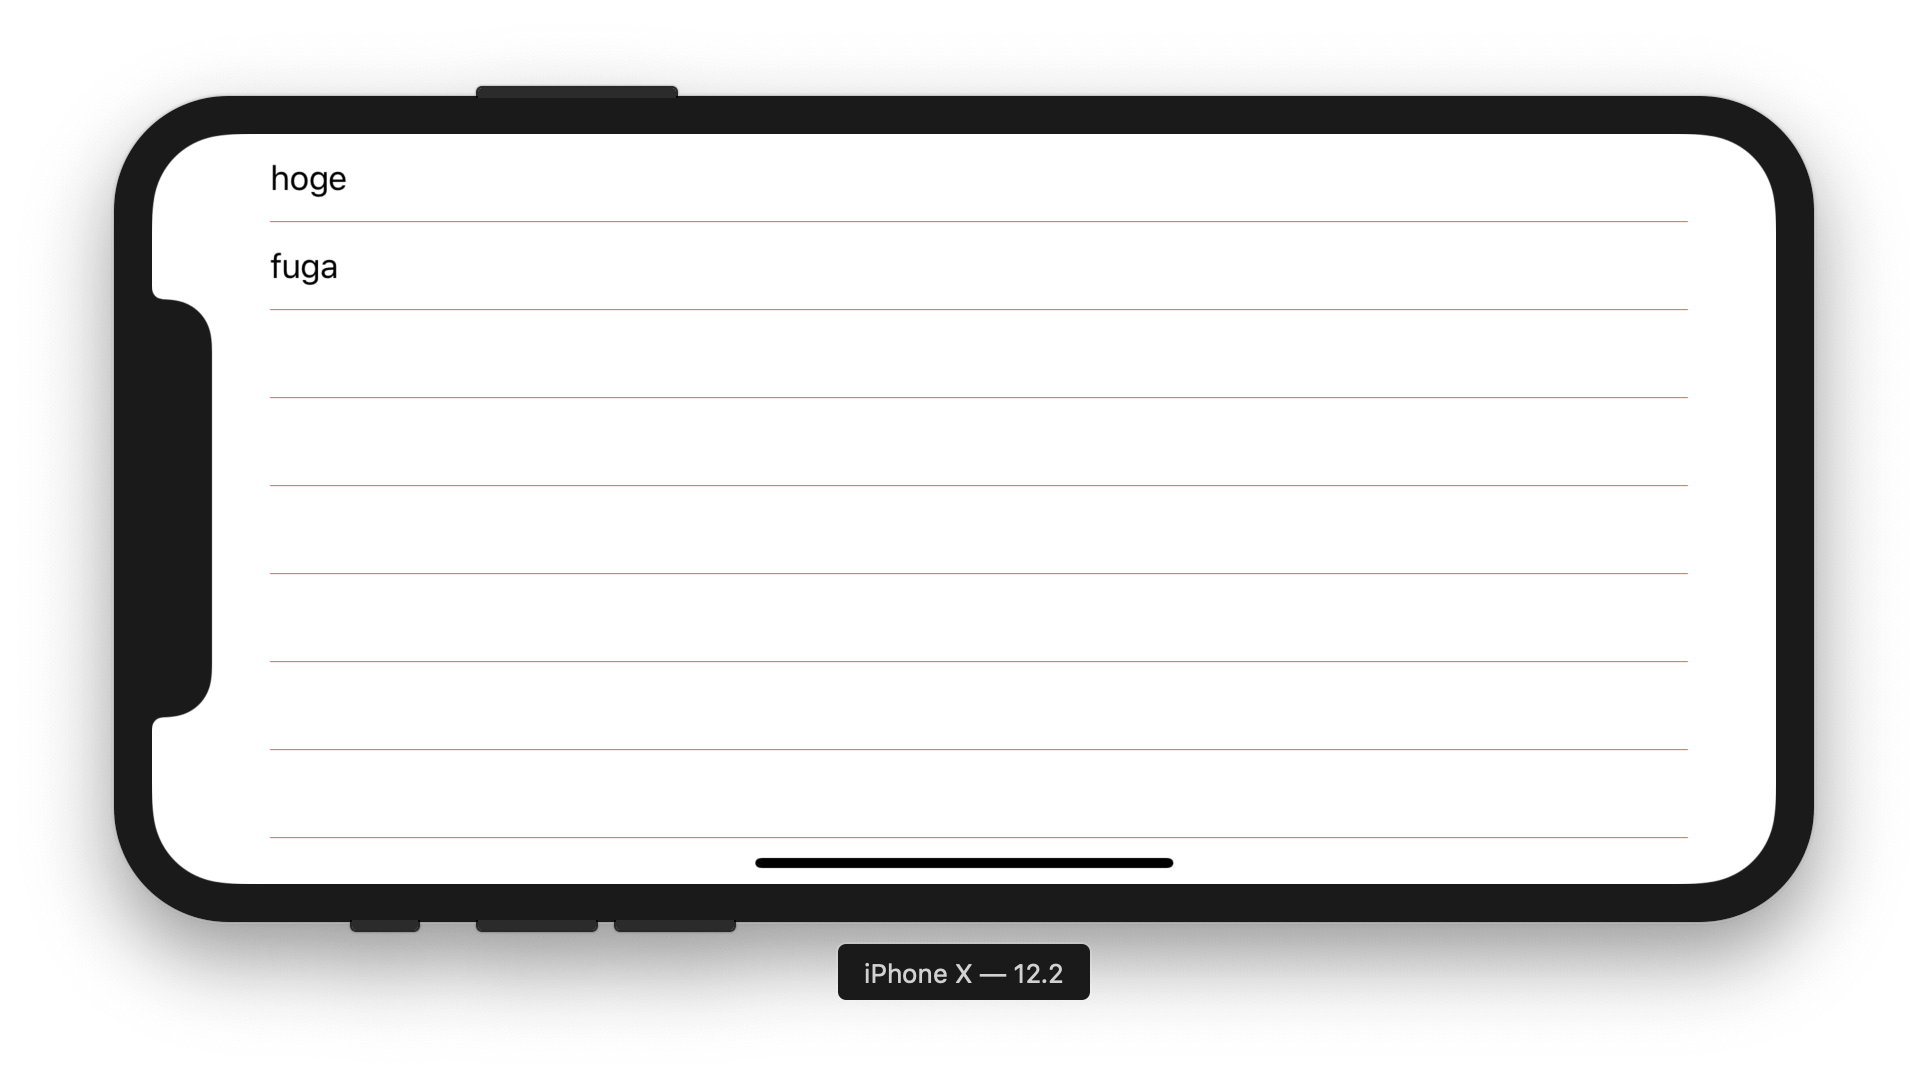
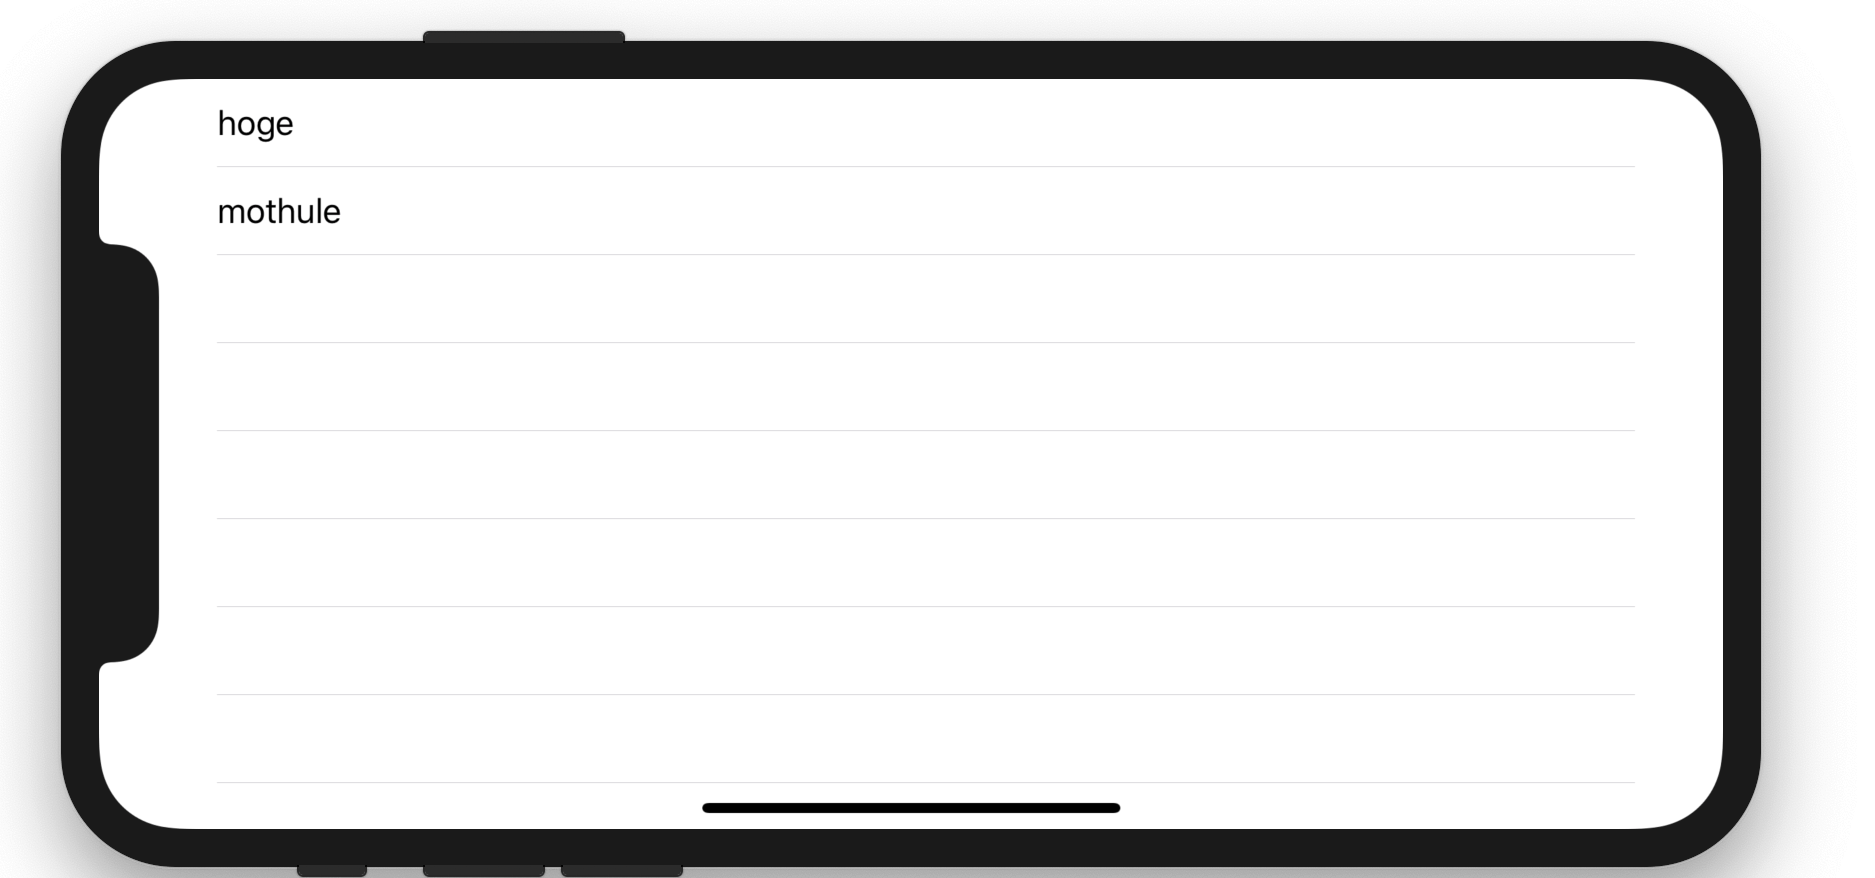
let data: [User] = [
User(name: "mothule-1"),
User(name: "mothule-2"),
User(name: "mothule-3"),
User(name: "mothule-4"),
User(name: "mothule-5"),
User(name: "mothule-6"),
User(name: "mothule-7")
]
データ受取をなるべくリアルにする
実際の開発ではViewControllerやインメモリがオリジナルデータを持つことはなく、大抵がサーバーから受信したデータを使います。
しかもサーバーからのデータ受取は通常は非同期です。
これを今回は次のコードで擬似的に実現します。
class ViewController: UIViewController {
  // ...
  override func viewWillAppear(_ animated: Bool) {
    super.viewWillAppear(animated)
    DispatchQueue.main.asyncAfter(deadline: .now() + 1.0, execute: { [weak self ] in
        self?.users = data
    })
  }
  // ...
}
これは画面が開く直前にサーバーに問い合わせてデータを受け取る想定のコードです。
UITableViewDataSourceを分離する
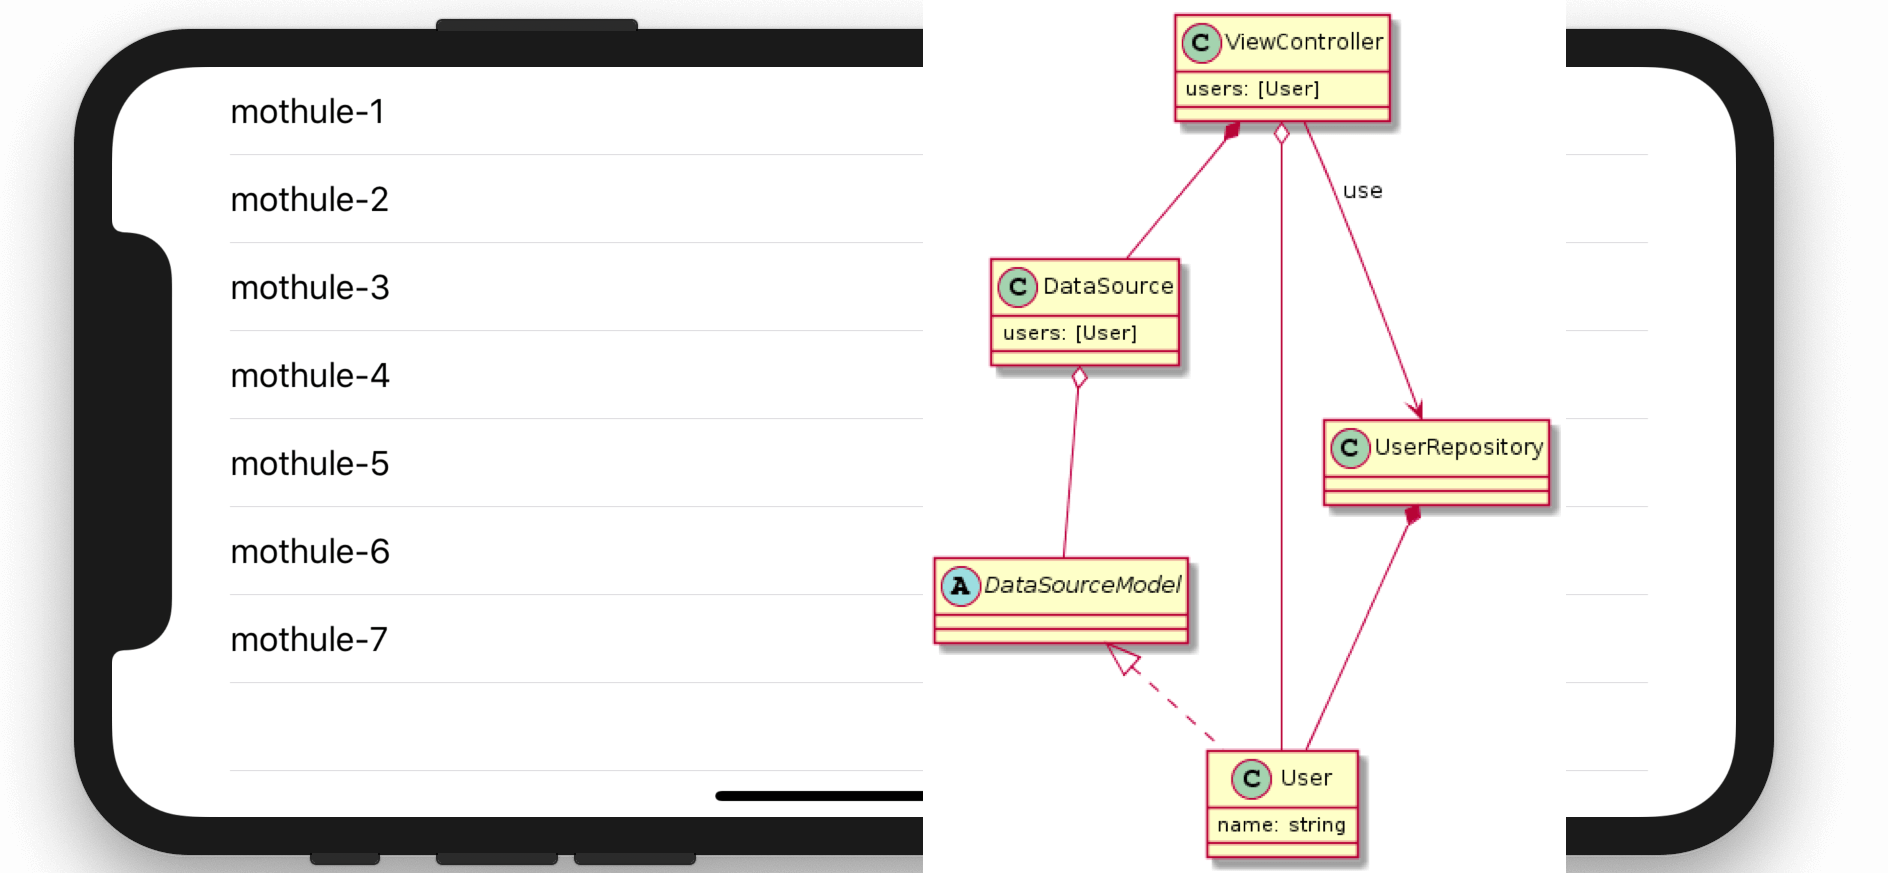
次コードは DataSource クラスを用意し User をデータ連携して UITableViewDataSource を ViewControllerから分離しています。
class ViewController: UIViewController {
    @IBOutlet private weak var tableView: UITableView!
    private let dataSource = DataSource()

    private var users: [User] = [] {
        didSet {
            dataSource.setupModel(users)
            tableView?.reloadData()
        }
    }

    override func viewDidLoad() {
        super.viewDidLoad()
        tableView.dataSource = dataSource
    }

    override func viewWillAppear(_ animated: Bool) {
        super.viewWillAppear(animated)
        DispatchQueue.main.asyncAfter(deadline: .now() + 1.0, execute: { [weak self ] in
            self?.users = data
        })
    }
}

class DataSource: NSObject, UITableViewDataSource {
    private var models: [User] = []

    func setupModel(_ models: [User]) {
        self.models = models
    }

    func tableView(_ tableView: UITableView, numberOfRowsInSection section: Int) -> Int {
        return models.count
    }

    func tableView(_ tableView: UITableView, cellForRowAt indexPath: IndexPath) -> UITableViewCell {
        let cell = tableView.dequeueReusableCell(withIdentifier: "cell") ??
                    UITableViewCell(style: .default, reuseIdentifier: "cell")
        let model = models[indexPath.row]
        cell.textLabel?.text = model.name
        return cell
    }
}
UITableViewDataSourceはNSObjectProtocolを採用しているため、NSObjectを継承する必要があります。UITableView.dataSourceは 弱参照 のためインスタンスのオーナーを別で保つ必要があるためViewControllerにもたせています。- これは前提でも説明したようにデータソースとViewControllerのスコープは同じなので理にかなっています。
よりDataSourceを疎結合にする
前述した実装でも大抵は問題ないのですが、「テーブルのレイアウトは同じがデータのみが異なる」というケースには対応ができません。
なぜなら、DataSource内部でUserを持っているためです。
DataSourceがUserを知りすぎているのも気になります。
本来ならDataSourceはUserは知る必要はなく、テーブルに表示したいデータが欲しいだけだからです。
これをDataSourceのために専用のデータモデルを用意してUserをDataSourceから追い出します。
そして他モデルでも使える使えるようにデータモデルを抽象化します。
データモデルを用意する
DataSourceではデータ数とname属性を必要としているので、これを抽象化します。
protocol DataSourceModel {
  var name: String { get }
}
データソースはデータモデルを使うようにする
次のコードのように先程用意したデータモデルを使って、テーブル構築を行います。
class DataSource: NSObject, UITableViewDataSource {
    private var models: [DataSourceModel] = []

    func setupModel(_ models: [DataSourceModel]) {
        self.models = models
    }

    func tableView(_ tableView: UITableView, numberOfRowsInSection section: Int) -> Int {
        return models.count
    }

    func tableView(_ tableView: UITableView, cellForRowAt indexPath: IndexPath) -> UITableViewCell {
        let cell = tableView.dequeueReusableCell(withIdentifier: "cell") ??
                    UITableViewCell(style: .default, reuseIdentifier: "cell")
        let model = models[indexPath.row]
        cell.textLabel?.text = model.name
        return cell
    }
}
これでデータへのアクセスはすべてDataSourceModelを介することで DataSource に他ドメインなクラスがいなくなりました。
データソースにデータを渡す
次にデータソース(DataSource)にデータ(User)を渡す方法についてです。
これは渡すデータ(User)がDataSourceModelプロトコルに準拠していれば渡すことができるようになります。
これは次のコードで実現できます。
extension User: DataSourceModel { }
これは DataSourceModel.name を User.name が満たしているためこのような実装になります。
あとはDataSourceのオーナーであるViewControllerからデータを渡せば完了です。
class ViewController: UIViewController {
  // ...
  private var users: [User] = [] {
    didSet {
        dataSource.setupModel(users)
        tableView?.reloadData()
    }
  }
  // ...
}
データ連携に煩わしさを感じるなら
ViewControllerがリモート先から受け取ったデータをデータソースに渡すまでのフローに手続き的な手間を感じます。
これを解決するには RxSwift といったイベントとデータフローを連結すれば解決できます。
DataSourceを分離するメリット
レイアウト同じだがデータが異なる場合に対応できる
ここまで読んだ人ならこのメリットを理解できると思います。
UITableViewDataSource はViewControllerではなくUITableViewと共存してるので
別のViewControllerで同じUITableViewを使う場合に流用できるためDRY違反になりません。
ViewControllerからテーブル処理を分離できる
これは単純なViewControllerでは実感は全くないと思います。
単純な分離ではありますが、責務を分けて見る必要のないコードが視界に入らないのはやはり効果は大きいです。